Kerio Connect â User's Guide - Kerio Software Archive
Kerio Connect â User's Guide - Kerio Software Archive
Kerio Connect â User's Guide - Kerio Software Archive
You also want an ePaper? Increase the reach of your titles
YUMPU automatically turns print PDFs into web optimized ePapers that Google loves.
Configuring your <strong>Kerio</strong> <strong>Connect</strong> client<br />
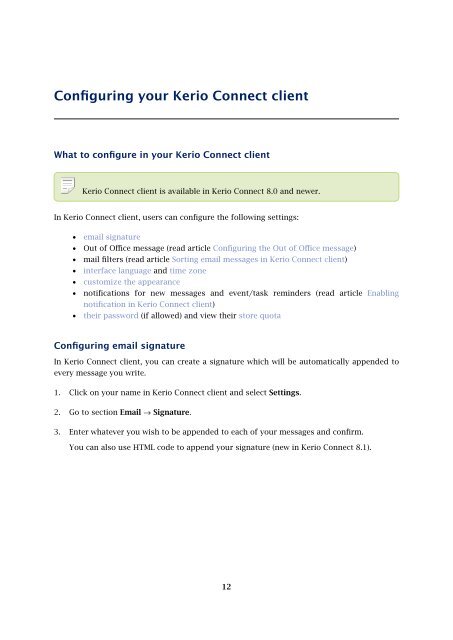
What to configure in your <strong>Kerio</strong> <strong>Connect</strong> client<br />
<strong>Kerio</strong> <strong>Connect</strong> client is available in <strong>Kerio</strong> <strong>Connect</strong> 8.0 and newer.<br />
In <strong>Kerio</strong> <strong>Connect</strong> client, users can configure the following settings:<br />
• email signature<br />
• Out of Office message (read article Configuring the Out of Office message)<br />
• mail filters (read article Sorting email messages in <strong>Kerio</strong> <strong>Connect</strong> client)<br />
• interface language and time zone<br />
• customize the appearance<br />
• notifications for new messages and event/task reminders (read article Enabling<br />
notification in <strong>Kerio</strong> <strong>Connect</strong> client)<br />
• their password (if allowed) and view their store quota<br />
Configuring email signature<br />
In <strong>Kerio</strong> <strong>Connect</strong> client, you can create a signature which will be automatically appended to<br />
every message you write.<br />
1. Click on your name in <strong>Kerio</strong> <strong>Connect</strong> client and select Settings.<br />
2. Go to section Email → Signature.<br />
3. Enter whatever you wish to be appended to each of your messages and confirm.<br />
You can also use HTML code to append your signature (new in <strong>Kerio</strong> <strong>Connect</strong> 8.1).<br />
12


