THE COLOR CONNECTION BOOK SERIES - Xerox
THE COLOR CONNECTION BOOK SERIES - Xerox
THE COLOR CONNECTION BOOK SERIES - Xerox

You also want an ePaper? Increase the reach of your titles
YUMPU automatically turns print PDFs into web optimized ePapers that Google loves.
Word tip 15<br />
Create art with letters and simple shapes<br />
Word comes with plenty of art — and you may have even more disks<br />
and CDs filled with graphics — but you can create your own original<br />
art in Word with a bit of imagination.<br />
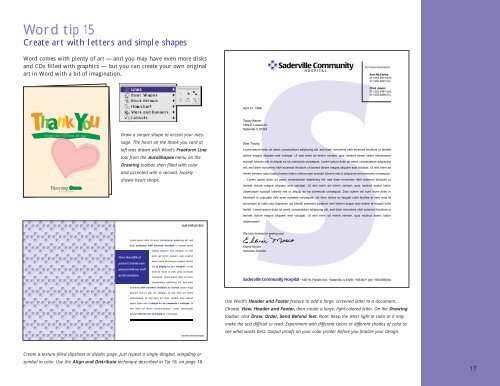
Draw a simple shape to accent your message.<br />
The heart on the thank you card at<br />
left was drawn with Word’s Freeform Line<br />
tool from the AutoShapes menu on the<br />
Drawing toolbar, then filled with color<br />
and accented with a second, loosely<br />
drawn heart shape.<br />
Use Word’s Header and Footer feature to add a large, screened letter to a document.<br />
Choose View, Header and Footer, then create a large, light-colored letter. On the Drawing<br />
toolbar, click Draw, Order, Send Behind Text. Note: Keep the letter light in color or it may<br />
make the text difficult to read. Experiment with different colors or different shades of color to<br />
see what works best. Output proofs on your color printer before you finalize your design.<br />
Create a texture-filled slipsheet or divider page. Just repeat a single dingbat, wingding or<br />
symbol in color. Use the Align and Distribute technique described in Tip 16, on page 18.<br />
17