Clarity Margay II Quick Start Guide - Planar
Clarity Margay II Quick Start Guide - Planar
Clarity Margay II Quick Start Guide - Planar

You also want an ePaper? Increase the reach of your titles
YUMPU automatically turns print PDFs into web optimized ePapers that Google loves.
3 Checking<br />
Accessories<br />
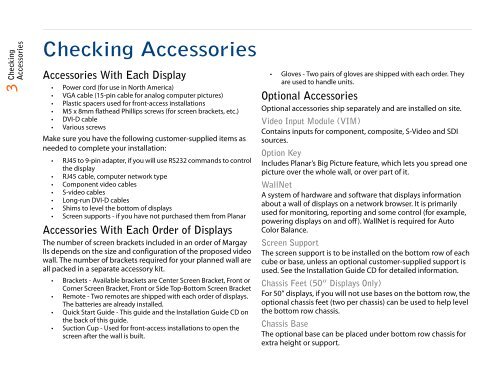
Checking Accessories<br />
Accessories With Each Display<br />
• Power cord (for use in North America)<br />
• VGA cable (15-pin cable for analog computer pictures)<br />
• Plastic spacers used for front-access installations<br />
• M5 x 8mm flathead Phillips screws (for screen brackets, etc.)<br />
• DVI-D cable<br />
• Various screws<br />
Make sure you have the following customer-supplied items as<br />
needed to complete your installation:<br />
• RJ45 to 9-pin adapter, if you will use RS232 commands to control<br />
the display<br />
• RJ45 cable, computer network type<br />
• Component video cables<br />
• S-video cables<br />
• Long-run DVI-D cables<br />
• Shims to level the bottom of displays<br />
• Screen supports - if you have not purchased them from <strong>Planar</strong><br />
Accessories With Each Order of Displays<br />
The number of screen brackets included in an order of <strong>Margay</strong><br />
<strong>II</strong>s depends on the size and configuration of the proposed video<br />
wall. The number of brackets required for your planned wall are<br />
all packed in a separate accessory kit.<br />
• Brackets - Available brackets are Center Screen Bracket, Front or<br />
Corner Screen Bracket, Front or Side Top-Bottom Screen Bracket<br />
• Remote - Two remotes are shipped with each order of displays.<br />
The batteries are already installed.<br />
• <strong>Quick</strong> <strong>Start</strong> <strong>Guide</strong> - This guide and the Installation <strong>Guide</strong> CD on<br />
the back of this guide.<br />
• Suction Cup - Used for front-access installations to open the<br />
screen after the wall is built.<br />
• Gloves - Two pairs of gloves are shipped with each order. They<br />
are used to handle units.<br />
Optional Accessories<br />
Optional accessories ship separately and are installed on site.<br />
Video Input Module (VIM)<br />
Contains inputs for component, composite, S-Video and SDI<br />
sources.<br />
Option Key<br />
Includes <strong>Planar</strong>’s Big Picture feature, which lets you spread one<br />
picture over the whole wall, or over part of it.<br />
WallNet<br />
A system of hardware and software that displays information<br />
about a wall of displays on a network browser. It is primarily<br />
used for monitoring, reporting and some control (for example,<br />
powering displays on and off). WallNet is required for Auto<br />
Color Balance.<br />
Screen Support<br />
The screen support is to be installed on the bottom row of each<br />
cube or base, unless an optional customer-supplied support is<br />
used. See the Installation <strong>Guide</strong> CD for detailed information.<br />
Chassis Feet (50” Displays Only)<br />
For 50” displays, if you will not use bases on the bottom row, the<br />
optional chassis feet (two per chassis) can be used to help level<br />
the bottom row chassis.<br />
Chassis Base<br />
The optional base can be placed under bottom row chassis for<br />
extra height or support.