
Create successful ePaper yourself
Turn your PDF publications into a flip-book with our unique Google optimized e-Paper software.
4<br />
#PRP1749 - St a r Tr e k “Co b r a” Ph a s e r Pr o p Kit As s e m b l y Ma n u a l<br />
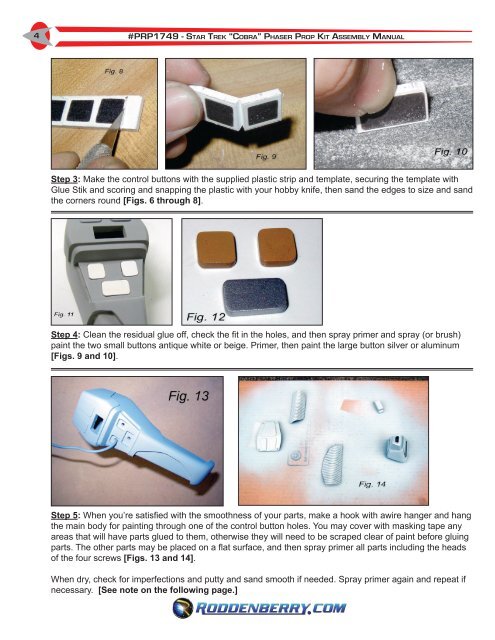
Step 3: Make the control buttons with the supplied plastic strip and template, securing the template with<br />
Glue Stik and scoring and snapping the plastic with your hobby knife, then sand the edges to size and sand<br />
the corners round [Figs. 6 through 8].<br />
Step 4: Clean the residual glue off, check the fit in the holes, and then spray primer and spray (or brush)<br />
paint the two small buttons antique white or beige. Primer, then paint the large button silver or aluminum<br />
[Figs. 9 and 10].<br />
Step 5: When you’re satisfied with the smoothness of your parts, make a hook with awire hanger and hang<br />
the main body for painting through one of the control button holes. You may cover with masking tape any<br />
areas that will have parts glued to them, otherwise they will need to be scraped clear of paint before gluing<br />
parts. The other parts may be placed on a flat surface, and then spray primer all parts including the heads<br />
of the four screws [Figs. 13 and 14].<br />
When dry, check for imperfections and putty and sand smooth if needed. Spray primer again and repeat if<br />
necessary. [See note on the following page.]