Solar controller XTDC - Sorel
Solar controller XTDC - Sorel
Solar controller XTDC - Sorel

You also want an ePaper? Increase the reach of your titles
YUMPU automatically turns print PDFs into web optimized ePapers that Google loves.
Installation<br />
C.2. - Electrical connection<br />
Danger<br />
Before working on the unit, switch off the power supply and secure it against being switched on again! Check<br />
for the absence of power!<br />
Electrical connections may only be made by a specialist and in compliance with the applicable regulations.<br />
Do not use the <strong>controller</strong> if the housing shows visible damage.<br />
Caution<br />
Low-voltage cables such as temperature sensor cables must be routed separately from mains voltage cables.<br />
Feed temperature sensor cables only into the left-hand side of the unit, and mains voltage cables only into the<br />
right-hand side.<br />
Caution<br />
The customer must provide an all-pole disconnecting device, e.g. a heating emergency switch.<br />
Caution<br />
The cables being connected to the unit must not be stripped by more than 55mm, and the cable jacket must<br />
reach into the housing just to the other side of the strain relief.<br />
Caution<br />
Controller and VFS sensor have to have the same ground potential. The VFS sensor has a functional earth connector<br />
(PELV). The PE-connector of the <strong>controller</strong> has to be connected to the pipe system near the sensor.<br />
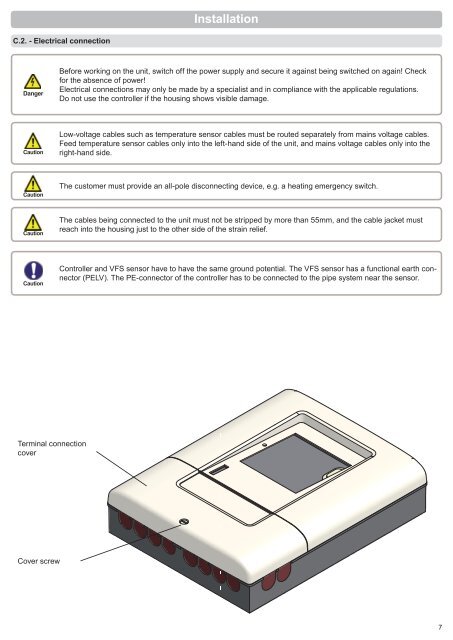
Terminal connection<br />
cover<br />
Cover screw<br />
7