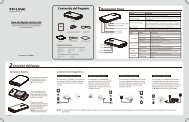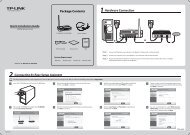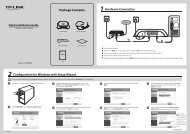
TL-PA551 AV500+ Powerline Adapter with AC Pass Through - TP-Link
TL-PA551 AV500+ Powerline Adapter with AC Pass Through - TP-Link
TL-PA551 AV500+ Powerline Adapter with AC Pass Through - TP-Link

You also want an ePaper? Increase the reach of your titles
YUMPU automatically turns print PDFs into web optimized ePapers that Google loves.
<strong>TL</strong>-<strong>PA551</strong><br />
<strong>AV500+</strong> <strong>Powerline</strong> <strong>Adapter</strong> <strong>with</strong> <strong>AC</strong> <strong>Pass</strong> <strong>Through</strong><br />
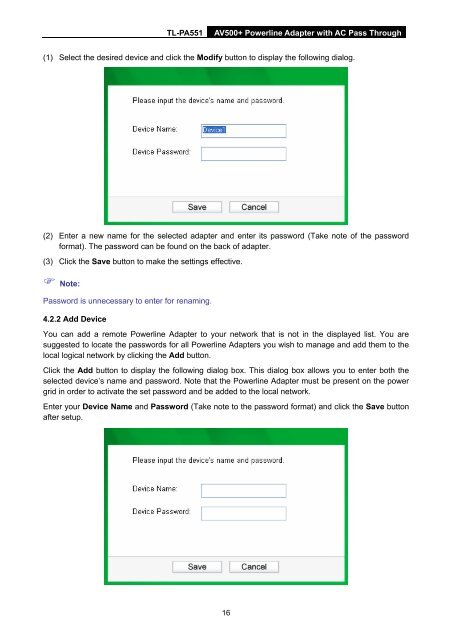
(1) Select the desired device and click the Modify button to display the following dialog.<br />
(2) Enter a new name for the selected adapter and enter its password (Take note of the password<br />
format). The password can be found on the back of adapter.<br />
(3) Click the Save button to make the settings effective.<br />
Note:<br />
<strong>Pass</strong>word is unnecessary to enter for renaming.<br />
4.2.2 Add Device<br />
You can add a remote <strong>Powerline</strong> <strong>Adapter</strong> to your network that is not in the displayed list. You are<br />
suggested to locate the passwords for all <strong>Powerline</strong> <strong>Adapter</strong>s you wish to manage and add them to the<br />
local logical network by clicking the Add button.<br />
Click the Add button to display the following dialog box. This dialog box allows you to enter both the<br />
selected device’s name and password. Note that the <strong>Powerline</strong> <strong>Adapter</strong> must be present on the power<br />
grid in order to activate the set password and be added to the local network.<br />
Enter your Device Name and <strong>Pass</strong>word (Take note to the password format) and click the Save button<br />
after setup.<br />
16