


You also want an ePaper? Increase the reach of your titles
YUMPU automatically turns print PDFs into web optimized ePapers that Google loves.
Assembly<br />
Note: This introduction will save you more<br />
time than it takes to read it!<br />
Making Things Easier for Yourself<br />
Everything in this manual is designed to ensure<br />
that the assembly of our products can be completed<br />
successfully by anyone. However, it is important<br />
to recognize that your new equipment is a<br />
sophisticated product with many small parts. The<br />
assembly process will take timeÑpossibly several<br />
hours. Most people find that by setting aside plenty<br />
of time, and by deciding to make the task<br />
enjoyable, assembly will go smoothly. You may<br />
want to complete the process over a couple of<br />
evenings.<br />
Giving Yourself a Good Start<br />
Before you begin the assembly process itself, take<br />
the time to complete the steps outlined here.<br />
Clearing the Workspace<br />
Clear a workspace that is large enough to hold all<br />
parts and allow you to walk all the way around the<br />
assembled equipment.<br />
Unpacking the Box<br />
To make the assembly process as smooth as possible,<br />
we have broken it into separate stages. All parts<br />
used in each stage are found in individual packages<br />
in the shipping box. Place all parts in a cleared area<br />
and remove the packing materials. Do not dispose of<br />
the packing materials until assembly is completed.<br />
Important: Wait until you begin each assembly<br />
stage to open the parts bag labeled for that<br />
assembly stage.<br />
Identifying Parts<br />
To help you identify the small parts used in assembly,<br />
we have included a PART IDENTIFICATION<br />
CHART located in the center of this manual. Place<br />
the chart on the floor or work table and use it to<br />
quickly identify different parts as you open the packages<br />
for each step.<br />
Note: Some small parts may have been pre-attached<br />
for shipping. If a part is not in the parts bag, check to<br />
see if it has been pre-attached.<br />
Orienting Parts<br />
As you assemble this product, be sure that all parts<br />
are oriented as shown in the drawings.<br />
Tightening of Parts<br />
Tighten all parts as you assemble them, unless<br />
instructed to do otherwise.<br />
Lining Up the Tools<br />
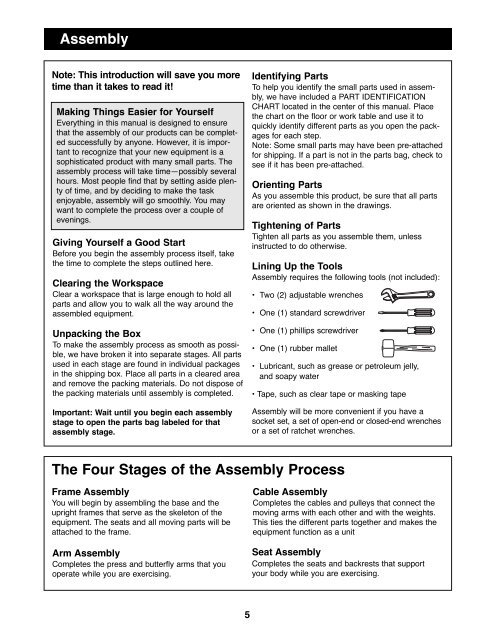
Assembly requires the following tools (not included):<br />
¥ Two (2) adjustable wrenches<br />
¥ One (1) standard screwdriver<br />
¥ One (1) phillips screwdriver<br />
¥ One (1) rubber mallet<br />
¥ Lubricant, such as grease or petroleum jelly,<br />
and soapy water<br />
¥ Tape, such as clear tape or masking tape<br />
Assembly will be more convenient if you have a<br />
socket set, a set of open-end or closed-end wrenches<br />
or a set of ratchet wrenches.<br />
The Four Stages of the Assembly Process<br />
Frame Assembly<br />
You will begin by assembling the base and the<br />
upright frames that serve as the skeleton of the<br />
equipment. The seats and all moving parts will be<br />
attached to the frame.<br />
Arm Assembly<br />
Completes the press and butterfly arms that you<br />
operate while you are exercising.<br />
Cable Assembly<br />
Completes the cables and pulleys that connect the<br />
moving arms with each other and with the weights.<br />
This ties the different parts together and makes the<br />
equipment function as a unit<br />
Seat Assembly<br />
Completes the seats and backrests that support<br />
your body while you are exercising.<br />
5


