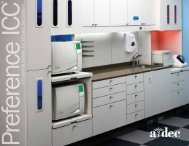
A-dec 500 12 O'Clock System
A-dec 500 12 O'Clock System
A-dec 500 12 O'Clock System
- No tags were found...

You also want an ePaper? Increase the reach of your titles
YUMPU automatically turns print PDFs into web optimized ePapers that Google loves.
A-<strong>dec</strong> <strong>500</strong> <strong>12</strong> O’Clock <strong>System</strong> Installation Guide<br />
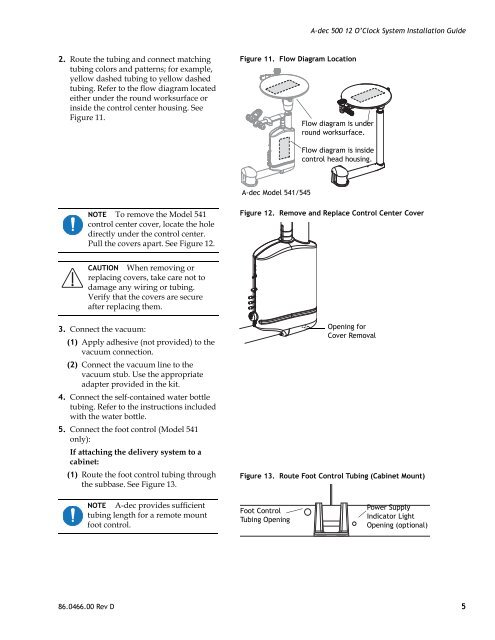
2. Route the tubing and connect matching<br />
tubing colors and patterns; for example,<br />
yellow dashed tubing to yellow dashed<br />
tubing. Refer to the flow diagram located<br />
either under the round worksurface or<br />
inside the control center housing. See<br />
Figure 11.<br />
Figure 11. Flow Diagram Location<br />
Flow diagram is under<br />
round worksurface.<br />
Flow diagram is inside<br />
control head housing.<br />
A-<strong>dec</strong> Model 541/545<br />
NOTE To remove the Model 541<br />
control center cover, locate the hole<br />
directly under the control center.<br />
Pull the covers apart. See Figure <strong>12</strong>.<br />
Figure <strong>12</strong>. Remove and Replace Control Center Cover<br />
CAUTION When removing or<br />
replacing covers, take care not to<br />
damage any wiring or tubing.<br />
Verify that the covers are secure<br />
after replacing them.<br />
3. Connect the vacuum:<br />
(1) Apply adhesive (not provided) to the<br />
vacuum connection.<br />
(2) Connect the vacuum line to the<br />
vacuum stub. Use the appropriate<br />
adapter provided in the kit.<br />
4. Connect the self-contained water bottle<br />
tubing. Refer to the instructions included<br />
with the water bottle.<br />
5. Connect the foot control (Model 541<br />
only):<br />
If attaching the delivery system to a<br />
cabinet:<br />
(1) Route the foot control tubing through<br />
the subbase. See Figure 13.<br />
Opening for<br />
Cover Removal<br />
Figure 13. Route Foot Control Tubing (Cabinet Mount)<br />
NOTE A-<strong>dec</strong> provides sufficient<br />
tubing length for a remote mount<br />
foot control.<br />
Foot Control<br />
Tubing Opening<br />
Power Supply<br />
Indicator Light<br />
Opening (optional)<br />
86.0466.00 Rev D 5