A-dec 500 12 O'Clock System
A-dec 500 12 O'Clock System
A-dec 500 12 O'Clock System
- No tags were found...

Create successful ePaper yourself
Turn your PDF publications into a flip-book with our unique Google optimized e-Paper software.
A-<strong>dec</strong> <strong>500</strong> <strong>12</strong> O’Clock <strong>System</strong> Installation Guide<br />
5. Test all the ancillary equipment.<br />
6. Replace all covers.<br />
CAUTION When removing or<br />
replacing covers, take care not to<br />
damage any wiring or tubing.<br />
Verify that the covers are secure<br />
after replacing them.<br />
NOTE To replace the cover, align<br />
the front and back halves and snap<br />
them together.<br />
Adjustments<br />
This section describes the steps to adjust the<br />
A-<strong>dec</strong> <strong>12</strong> o’clock delivery system. After<br />
installation, you can adjust:<br />
• Worksurface arm and instrumentation<br />
arm height<br />
• Handpiece controls<br />
○ Water coolant<br />
○ Air coolant<br />
○ Drive air flow<br />
• Touchpad settings<br />
○ Standard<br />
○ Deluxe<br />
Worksurface and Instrumentation<br />
Arm Height Adjustments<br />
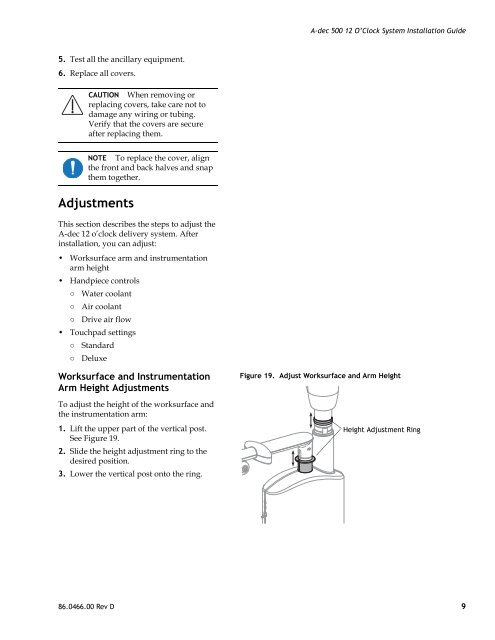
To adjust the height of the worksurface and<br />
the instrumentation arm:<br />
1. Lift the upper part of the vertical post.<br />
See Figure 19.<br />
2. Slide the height adjustment ring to the<br />
desired position.<br />
3. Lower the vertical post onto the ring.<br />
Figure 19. Adjust Worksurface and Arm Height<br />
Height Adjustment Ring<br />
86.0466.00 Rev D 9