Installation Guide & User Manual - Williams Sound
Installation Guide & User Manual - Williams Sound
Installation Guide & User Manual - Williams Sound
You also want an ePaper? Increase the reach of your titles
YUMPU automatically turns print PDFs into web optimized ePapers that Google loves.
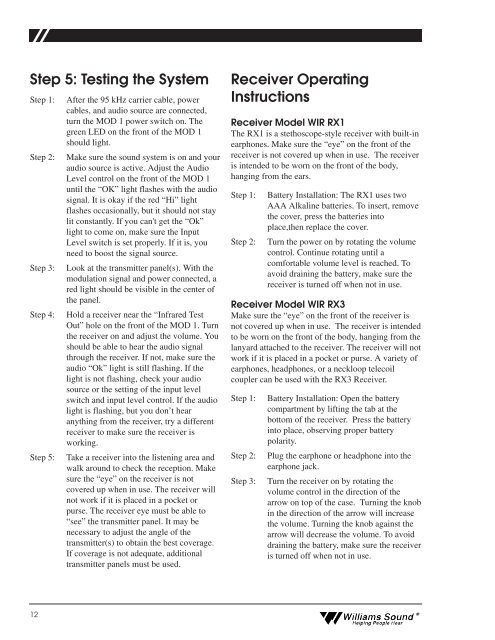
Step 5: Testing the System<br />
Step 1:<br />
Step 2:<br />
Step 3:<br />
Step 4:<br />
Step 5:<br />
After the 95 kHz carrier cable, power<br />
cables, and audio source are connected,<br />
turn the MOD 1 power switch on. The<br />
green LED on the front of the MOD 1<br />
should light.<br />
Make sure the sound system is on and your<br />
audio source is active. Adjust the Audio<br />
Level control on the front of the MOD 1<br />
until the “OK” light flashes with the audio<br />
signal. It is okay if the red “Hi” light<br />
flashes occasionally, but it should not stay<br />
lit constantly. If you can't get the “Ok”<br />
light to come on, make sure the Input<br />
Level switch is set properly. If it is, you<br />
need to boost the signal source.<br />
Look at the transmitter panel(s). With the<br />
modulation signal and power connected, a<br />
red light should be visible in the center of<br />
the panel.<br />
Hold a receiver near the “Infrared Test<br />
Out” hole on the front of the MOD 1. Turn<br />
the receiver on and adjust the volume. You<br />
should be able to hear the audio signal<br />
through the receiver. If not, make sure the<br />
audio “Ok” light is still flashing. If the<br />
light is not flashing, check your audio<br />
source or the setting of the input level<br />
switch and input level control. If the audio<br />
light is flashing, but you don’t hear<br />
anything from the receiver, try a different<br />
receiver to make sure the receiver is<br />
working.<br />
Take a receiver into the listening area and<br />
walk around to check the reception. Make<br />
sure the “eye” on the receiver is not<br />
covered up when in use. The receiver will<br />
not work if it is placed in a pocket or<br />
purse. The receiver eye must be able to<br />
“see” the transmitter panel. It may be<br />
necessary to adjust the angle of the<br />
transmitter(s) to obtain the best coverage.<br />
If coverage is not adequate, additional<br />
transmitter panels must be used.<br />
Receiver Operating<br />
Instructions<br />
Receiver Model WIR RX1<br />
The RX1 is a stethoscope-style receiver with built-in<br />
earphones. Make sure the “eye” on the front of the<br />
receiver is not covered up when in use. The receiver<br />
is intended to be worn on the front of the body,<br />
hanging from the ears.<br />
Step 1:<br />
Step 2:<br />
Battery <strong>Installation</strong>: The RX1 uses two<br />
AAA Alkaline batteries. To insert, remove<br />
the cover, press the batteries into<br />
place,then replace the cover.<br />
Turn the power on by rotating the volume<br />
control. Continue rotating until a<br />
comfortable volume level is reached. To<br />
avoid draining the battery, make sure the<br />
receiver is turned off when not in use.<br />
Receiver Model WIR RX3<br />
Make sure the “eye” on the front of the receiver is<br />
not covered up when in use. The receiver is intended<br />
to be worn on the front of the body, hanging from the<br />
lanyard attached to the receiver. The receiver will not<br />
work if it is placed in a pocket or purse. A variety of<br />
earphones, headphones, or a neckloop telecoil<br />
coupler can be used with the RX3 Receiver.<br />
Step 1:<br />
Step 2:<br />
Step 3:<br />
Battery <strong>Installation</strong>: Open the battery<br />
compartment by lifting the tab at the<br />
bottom of the receiver. Press the battery<br />
into place, observing proper battery<br />
polarity.<br />
Plug the earphone or headphone into the<br />
earphone jack.<br />
Turn the receiver on by rotating the<br />
volume control in the direction of the<br />
arrow on top of the case. Turning the knob<br />
in the direction of the arrow will increase<br />
the volume. Turning the knob against the<br />
arrow will decrease the volume. To avoid<br />
draining the battery, make sure the receiver<br />
is turned off when not in use.<br />
12<br />
<strong>Williams</strong> <strong>Sound</strong> ®<br />
Helping People Hear


