RD Series Owner's Manual - Magnum Energy
RD Series Owner's Manual - Magnum Energy
RD Series Owner's Manual - Magnum Energy

You also want an ePaper? Increase the reach of your titles
YUMPU automatically turns print PDFs into web optimized ePapers that Google loves.
Installation<br />
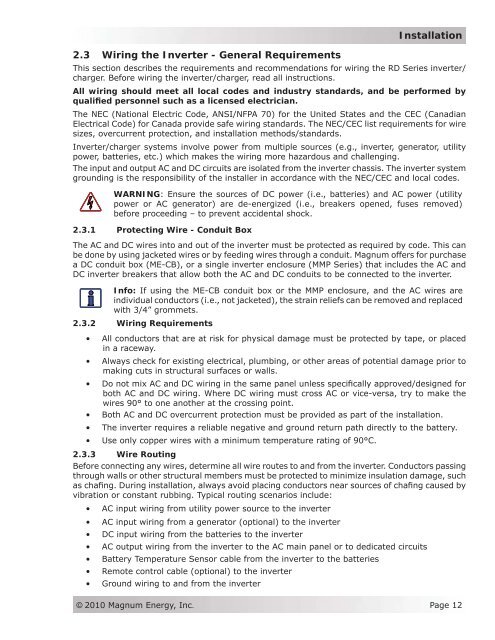
2.3 Wiring the Inverter - General Requirements<br />
This section describes the requirements and recommendations for wiring the <strong>RD</strong> <strong>Series</strong> inverter/<br />
charger. Before wiring the inverter/charger, read all instructions.<br />
All wiring should meet all local codes and industry standards, and be performed by<br />
qualified personnel such as a licensed electrician.<br />
The NEC (National Electric Code, ANSI/NFPA 70) for the United States and the CEC (Canadian<br />
Electrical Code) for Canada provide safe wiring standards. The NEC/CEC list requirements for wire<br />
sizes, overcurrent protection, and installation methods/standards.<br />
Inverter/charger systems involve power from multiple sources (e.g., inverter, generator, utility<br />
power, batteries, etc.) which makes the wiring more hazardous and challenging.<br />
The input and output AC and DC circuits are isolated from the inverter chassis. The inverter system<br />
grounding is the responsibility of the installer in accordance with the NEC/CEC and local codes.<br />
WARNING: Ensure the sources of DC power (i.e., batteries) and AC power (utility<br />
power or AC generator) are de-energized (i.e., breakers opened, fuses removed)<br />
before proceeding – to prevent accidental shock.<br />
2.3.1 Protecting Wire - Conduit Box<br />
The AC and DC wires into and out of the inverter must be protected as required by code. This can<br />
be done by using jacketed wires or by feeding wires through a conduit. <strong>Magnum</strong> offers for purchase<br />
a DC conduit box (ME-CB), or a single inverter enclosure (MMP <strong>Series</strong>) that includes the AC and<br />
DC inverter breakers that allow both the AC and DC conduits to be connected to the inverter.<br />
Info: If using the ME-CB conduit box or the MMP enclosure, and the AC wires are<br />
individual conductors (i.e., not jacketed), the strain reliefs can be removed and replaced<br />
with 3/4” grommets.<br />
2.3.2 Wiring Requirements<br />
• All conductors that are at risk for physical damage must be protected by tape, or placed<br />
in a raceway.<br />
• Always check for existing electrical, plumbing, or other areas of potential damage prior to<br />
making cuts in structural surfaces or walls.<br />
• Do not mix AC and DC wiring in the same panel unless specifically approved/designed for<br />
both AC and DC wiring. Where DC wiring must cross AC or vice-versa, try to make the<br />
wires 90° to one another at the crossing point.<br />
• Both AC and DC overcurrent protection must be provided as part of the installation.<br />
• The inverter requires a reliable negative and ground return path directly to the battery.<br />
• Use only copper wires with a minimum temperature rating of 90°C.<br />
2.3.3 Wire Routing<br />
Before connecting any wires, determine all wire routes to and from the inverter. Conductors passing<br />
through walls or other structural members must be protected to minimize insulation damage, such<br />
as chafing. During installation, always avoid placing conductors near sources of chafing caused by<br />
vibration or constant rubbing. Typical routing scenarios include:<br />
• AC input wiring from utility power source to the inverter<br />
• AC input wiring from a generator (optional) to the inverter<br />
• DC input wiring from the batteries to the inverter<br />
• AC output wiring from the inverter to the AC main panel or to dedicated circuits<br />
• Battery Temperature Sensor cable from the inverter to the batteries<br />
• Remote control cable (optional) to the inverter<br />
• Ground wiring to and from the inverter<br />
© 2010 <strong>Magnum</strong> <strong>Energy</strong>, Inc.<br />
Page 12