PHOTOMOD VectOr (raster images processing) - Racurs
PHOTOMOD VectOr (raster images processing) - Racurs
PHOTOMOD VectOr (raster images processing) - Racurs
You also want an ePaper? Increase the reach of your titles
YUMPU automatically turns print PDFs into web optimized ePapers that Google loves.
<strong>PHOTOMOD</strong><br />
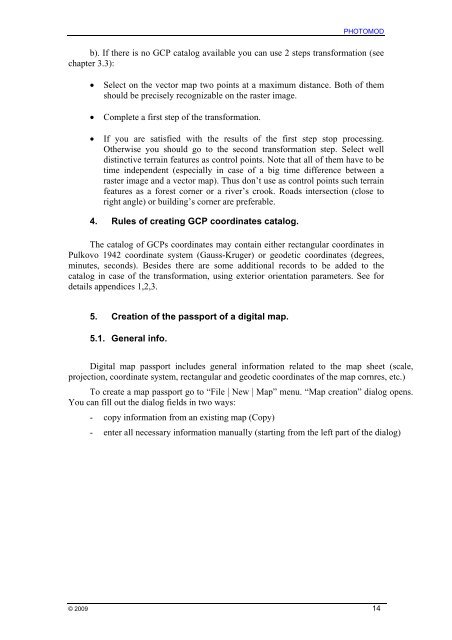
b). If there is no GCP catalog available you can use 2 steps transformation (see<br />
chapter 3.3):<br />
• Select on the vector map two points at a maximum distance. Both of them<br />
should be precisely recognizable on the <strong>raster</strong> image.<br />
• Complete a first step of the transformation.<br />
• If you are satisfied with the results of the first step stop <strong>processing</strong>.<br />
Otherwise you should go to the second transformation step. Select well<br />
distinctive terrain features as control points. Note that all of them have to be<br />
time independent (especially in case of a big time difference between a<br />
<strong>raster</strong> image and a vector map). Thus don’t use as control points such terrain<br />
features as a forest corner or a river’s crook. Roads intersection (close to<br />
right angle) or building’s corner are preferable.<br />
4. Rules of creating GCP coordinates catalog.<br />
The catalog of GCPs coordinates may contain either rectangular coordinates in<br />
Pulkovo 1942 coordinate system (Gauss-Kruger) or geodetic coordinates (degrees,<br />
minutes, seconds). Besides there are some additional records to be added to the<br />
catalog in case of the transformation, using exterior orientation parameters. See for<br />
details appendices 1,2,3.<br />
5. Creation of the passport of a digital map.<br />
5.1. General info.<br />
Digital map passport includes general information related to the map sheet (scale,<br />
projection, coordinate system, rectangular and geodetic coordinates of the map cornres, etc.)<br />
To create a map passport go to “File | New | Map” menu. “Map creation” dialog opens.<br />
You can fill out the dialog fields in two ways:<br />
- copy information from an existing map (Copy)<br />
- enter all necessary information manually (starting from the left part of the dialog)<br />
© 2009 14


