tandem vector owner's manual
tandem vector owner's manual
tandem vector owner's manual
You also want an ePaper? Increase the reach of your titles
YUMPU automatically turns print PDFs into web optimized ePapers that Google loves.
SIGMA TANDEM SYSTEM OWNER’S MANUAL<br />
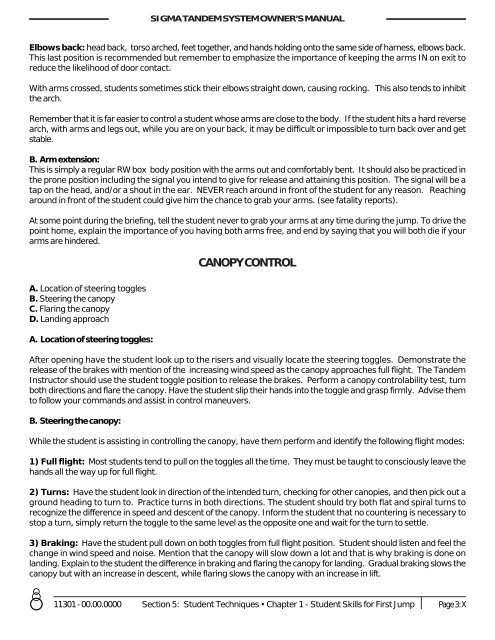
Elbows back: head back, torso arched, feet together, and hands holding onto the same side of harness, elbows back.<br />
This last position is recommended but remember to emphasize the importance of keeping the arms IN on exit to<br />
reduce the likelihood of door contact.<br />
With arms crossed, students sometimes stick their elbows straight down, causing rocking. This also tends to inhibit<br />
the arch.<br />
Remember that it is far easier to control a student whose arms are close to the body. If the student hits a hard reverse<br />
arch, with arms and legs out, while you are on your back, it may be difficult or impossible to turn back over and get<br />
stable.<br />
B. Arm extension:<br />
This is simply a regular RW box body position with the arms out and comfortably bent. It should also be practiced in<br />
the prone position including the signal you intend to give for release and attaining this position. The signal will be a<br />
tap on the head, and/or a shout in the ear. NEVER reach around in front of the student for any reason. Reaching<br />
around in front of the student could give him the chance to grab your arms. (see fatality reports).<br />
At some point during the briefing, tell the student never to grab your arms at any time during the jump. To drive the<br />
point home, explain the importance of you having both arms free, and end by saying that you will both die if your<br />
arms are hindered.<br />
CANOPY CONTROL<br />
A. Location of steering toggles<br />
B. Steering the canopy<br />
C. Flaring the canopy<br />
D. Landing approach<br />
A. Location of steering toggles:<br />
After opening have the student look up to the risers and visually locate the steering toggles. Demonstrate the<br />
release of the brakes with mention of the increasing wind speed as the canopy approaches full flight. The Tandem<br />
Instructor should use the student toggle position to release the brakes. Perform a canopy controlability test, turn<br />
both directions and flare the canopy. Have the student slip their hands into the toggle and grasp firmly. Advise them<br />
to follow your commands and assist in control maneuvers.<br />
B. Steering the canopy:<br />
While the student is assisting in controlling the canopy, have them perform and identify the following flight modes:<br />
1) Full flight: Most students tend to pull on the toggles all the time. They must be taught to consciously leave the<br />
hands all the way up for full flight.<br />
2) Turns: Have the student look in direction of the intended turn, checking for other canopies, and then pick out a<br />
ground heading to turn to. Practice turns in both directions. The student should try both flat and spiral turns to<br />
recognize the difference in speed and descent of the canopy. Inform the student that no countering is necessary to<br />
stop a turn, simply return the toggle to the same level as the opposite one and wait for the turn to settle.<br />
3) Braking: Have the student pull down on both toggles from full flight position. Student should listen and feel the<br />
change in wind speed and noise. Mention that the canopy will slow down a lot and that is why braking is done on<br />
landing. Explain to the student the difference in braking and flaring the canopy for landing. Gradual braking slows the<br />
canopy but with an increase in descent, while flaring slows the canopy with an increase in lift.<br />
11301 - 00.00.0000 Section 5: Student Techniques • Chapter 1 - Student Skills for First Jump<br />
Page 3:X


