Linkage Sprayers Product Information (13176 Kb) - Fatcow
Linkage Sprayers Product Information (13176 Kb) - Fatcow
Linkage Sprayers Product Information (13176 Kb) - Fatcow

You also want an ePaper? Increase the reach of your titles
YUMPU automatically turns print PDFs into web optimized ePapers that Google loves.
CALIBRATION<br />
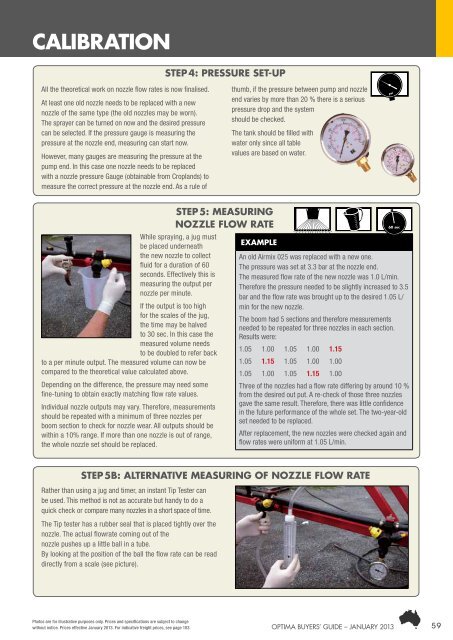
Step 4: preSSure Set-up<br />
All the theoretical work on nozzle flow rates is now finalised.<br />
At least one old nozzle needs to be replaced with a new<br />
nozzle of the same type (the old nozzles may be worn).<br />
The sprayer can be turned on now and the desired pressure<br />
can be selected. If the pressure gauge is measuring the<br />
pressure at the nozzle end, measuring can start now.<br />
However, many gauges are measuring the pressure at the<br />
pump end. In this case one nozzle needs to be replaced<br />
with a nozzle pressure Gauge (obtainable from Croplands) to<br />
measure the correct pressure at the nozzle end. As a rule of<br />
thumb, if the pressure between pump and nozzle<br />
end varies by more than 20 % there is a serious<br />
pressure drop and the system<br />
should be checked.<br />
The tank should be filled with<br />
water only since all table<br />
values are based on water.<br />
psi<br />
While spraying, a jug must<br />
be placed underneath<br />
the new nozzle to collect<br />
fluid for a duration of 60<br />
seconds. Effectively this is<br />
measuring the output per<br />
nozzle per minute.<br />
If the output is too high<br />
for the scales of the jug,<br />
the time may be halved<br />
to 30 sec. In this case the<br />
measured volume needs<br />
to be doubled to refer back<br />
to a per minute output. The measured volume can now be<br />
compared to the theoretical value calculated above.<br />
Depending on the difference, the pressure may need some<br />
fine-tuning to obtain exactly matching flow rate values.<br />
Individual nozzle outputs may vary. Therefore, measurements<br />
should be repeated with a minimum of three nozzles per<br />
boom section to check for nozzle wear. All outputs should be<br />
within a 10% range. If more than one nozzle is out of range,<br />
the whole nozzle set should be replaced.<br />
Step 5: MeaSuring<br />
nozzle flow rate<br />
eXaMple<br />
60 sec<br />
An old Airmix 025 was replaced with a new one.<br />
The pressure was set at 3.3 bar at the nozzle end.<br />
The measured flow rate of the new nozzle was 1.0 L/min.<br />
Therefore the pressure needed to be slightly increased to 3.5<br />
bar and the flow rate was brought up to the desired 1.05 L/<br />
min for the new nozzle.<br />
The boom had 5 sections and therefore measurements<br />
needed to be repeated for three nozzles in each section.<br />
Results were:<br />
1.05 1.00 1.05 1.00 1.15<br />
1.05 1.15 1.05 1.00 1.00<br />
1.05 1.00 1.05 1.15 1.00<br />
Three of the nozzles had a flow rate differing by around 10 %<br />
from the desired out put. A re-check of those three nozzles<br />
gave the same result. Therefore, there was little confidence<br />
in the future performance of the whole set. The two-year-old<br />
set needed to be replaced.<br />
After replacement, the new nozzles were checked again and<br />
flow rates were uniform at 1.05 L/min.<br />
Step 5b: alternatiVe MeaSuring of nozzle flow rate<br />
Rather than using a jug and timer, an instant Tip Tester can<br />
be used. This method is not as accurate but handy to do a<br />
quick check or compare many nozzles in a short space of time.<br />
The Tip tester has a rubber seal that is placed tightly over the<br />
nozzle. The actual flowrate coming out of the<br />
nozzle pushes up a little ball in a tube.<br />
By looking at the position of the ball the flow rate can be read<br />
directly from a scale (see picture).<br />
Photos are for illustrative purposes only. Prices and specifications are subject to change<br />
without notice. Prices effective January 2013. For indicative freight prices, see page 103. 59<br />
Optima BUYERS’ GUIDE – JANUARY 2013