Xerox CentreWare Printer Drivers Guide for Windows - Version 1.02 ...
Xerox CentreWare Printer Drivers Guide for Windows - Version 1.02 ...
Xerox CentreWare Printer Drivers Guide for Windows - Version 1.02 ...
You also want an ePaper? Increase the reach of your titles
YUMPU automatically turns print PDFs into web optimized ePapers that Google loves.
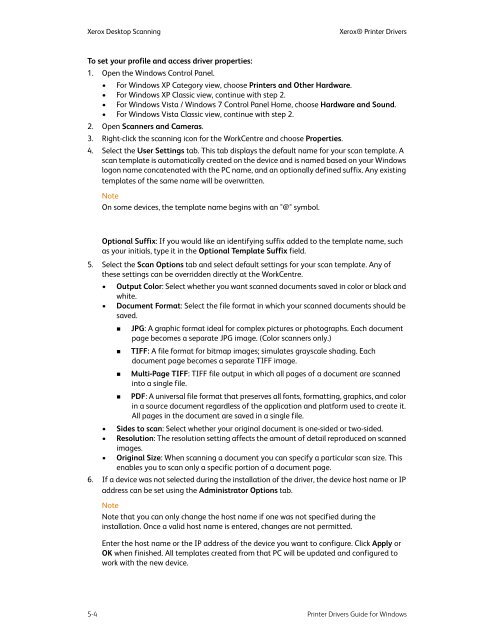
<strong>Xerox</strong> Desktop Scanning<strong>Xerox</strong>® <strong>Printer</strong> <strong>Drivers</strong>To set your profile and access driver properties:1. Open the <strong>Windows</strong> Control Panel.• For <strong>Windows</strong> XP Category view, choose <strong>Printer</strong>s and Other Hardware.• For <strong>Windows</strong> XP Classic view, continue with step 2.• For <strong>Windows</strong> Vista / <strong>Windows</strong> 7 Control Panel Home, choose Hardware and Sound.• For <strong>Windows</strong> Vista Classic view, continue with step 2.2. Open Scanners and Cameras.3. Right-click the scanning icon <strong>for</strong> the WorkCentre and choose Properties.4. Select the User Settings tab. This tab displays the default name <strong>for</strong> your scan template. Ascan template is automatically created on the device and is named based on your <strong>Windows</strong>logon name concatenated with the PC name, and an optionally defined suffix. Any existingtemplates of the same name will be overwritten.NoteOn some devices, the template name begins with an "@" symbol.Optional Suffix: If you would like an identifying suffix added to the template name, suchas your initials, type it in the Optional Template Suffix field.5. Select the Scan Options tab and select default settings <strong>for</strong> your scan template. Any ofthese settings can be overridden directly at the WorkCentre.• Output Color: Select whether you want scanned documents saved in color or black andwhite.• Document Format: Select the file <strong>for</strong>mat in which your scanned documents should besaved.• JPG: A graphic <strong>for</strong>mat ideal <strong>for</strong> complex pictures or photographs. Each documentpage becomes a separate JPG image. (Color scanners only.)• TIFF: A file <strong>for</strong>mat <strong>for</strong> bitmap images; simulates grayscale shading. Eachdocument page becomes a separate TIFF image.• Multi-Page TIFF: TIFF file output in which all pages of a document are scannedinto a single file.• PDF: A universal file <strong>for</strong>mat that preserves all fonts, <strong>for</strong>matting, graphics, and colorin a source document regardless of the application and plat<strong>for</strong>m used to create it.All pages in the document are saved in a single file.• Sides to scan: Select whether your original document is one-sided or two-sided.• Resolution: The resolution setting affects the amount of detail reproduced on scannedimages.• Original Size: When scanning a document you can specify a particular scan size. Thisenables you to scan only a specific portion of a document page.6. If a device was not selected during the installation of the driver, the device host name or IPaddress can be set using the Administrator Options tab.NoteNote that you can only change the host name if one was not specified during theinstallation. Once a valid host name is entered, changes are not permitted.Enter the host name or the IP address of the device you want to configure. Click Apply orOK when finished. All templates created from that PC will be updated and configured towork with the new device.5-4 <strong>Printer</strong> <strong>Drivers</strong> <strong>Guide</strong> <strong>for</strong> <strong>Windows</strong>


