Wireless Thermostat Installation Guide and the Control4
Wireless Thermostat Installation Guide and the Control4
Wireless Thermostat Installation Guide and the Control4

You also want an ePaper? Increase the reach of your titles
YUMPU automatically turns print PDFs into web optimized ePapers that Google loves.
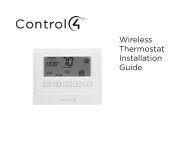
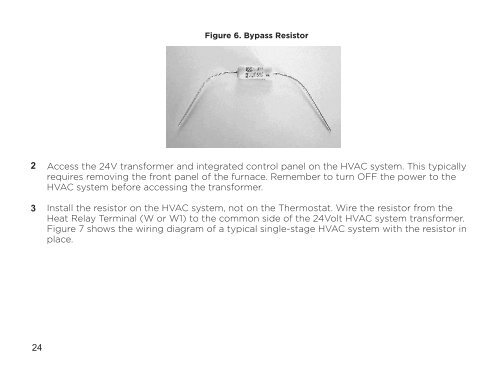
Figure 6. Bypass Resistor23Access <strong>the</strong> 24V transformer <strong>and</strong> integrated control panel on <strong>the</strong> HVAC system. This typicallyrequires removing <strong>the</strong> front panel of <strong>the</strong> furnace. Remember to turn OFF <strong>the</strong> power to <strong>the</strong>HVAC system before accessing <strong>the</strong> transformer.Install <strong>the</strong> resistor on <strong>the</strong> HVAC system, not on <strong>the</strong> <strong>Thermostat</strong>. Wire <strong>the</strong> resistor from <strong>the</strong>Heat Relay Terminal (W or W1) to <strong>the</strong> common side of <strong>the</strong> 24Volt HVAC system transformer.Figure 7 shows <strong>the</strong> wiring diagram of a typical single-stage HVAC system with <strong>the</strong> resistor inplace.24