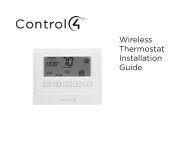
Wireless Thermostat Installation Guide and the Control4
Wireless Thermostat Installation Guide and the Control4
Wireless Thermostat Installation Guide and the Control4

Create successful ePaper yourself
Turn your PDF publications into a flip-book with our unique Google optimized e-Paper software.
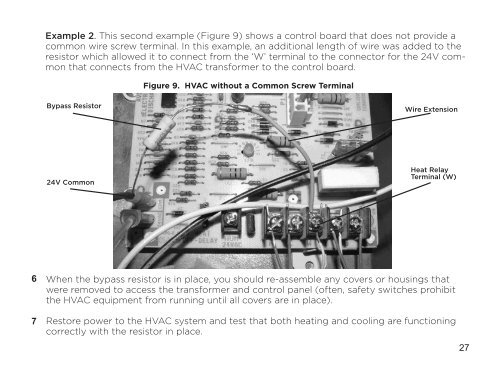
Example 2. This second example (Figure 9) shows a control board that does not provide acommon wire screw terminal. In this example, an additional length of wire was added to <strong>the</strong>resistor which allowed it to connect from <strong>the</strong> ‘W’ terminal to <strong>the</strong> connector for <strong>the</strong> 24V commonthat connects from <strong>the</strong> HVAC transformer to <strong>the</strong> control board.Figure 9. HVAC without a Common Screw TerminalBypass ResistorWire Extension24V CommonHeat RelayTerminal (W)67When <strong>the</strong> bypass resistor is in place, you should re-assemble any covers or housings thatwere removed to access <strong>the</strong> transformer <strong>and</strong> control panel (often, safety switches prohibit<strong>the</strong> HVAC equipment from running until all covers are in place).Restore power to <strong>the</strong> HVAC system <strong>and</strong> test that both heating <strong>and</strong> cooling are functioningcorrectly with <strong>the</strong> resistor in place.27