EMIS - UN-Habitat
EMIS - UN-Habitat
EMIS - UN-Habitat

You also want an ePaper? Increase the reach of your titles
YUMPU automatically turns print PDFs into web optimized ePapers that Google loves.
Building an Environmental Management Information System<br />
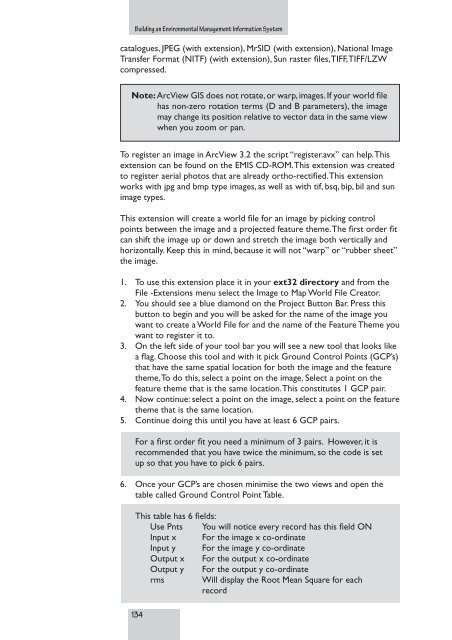
catalogues, JPEG (with extension), MrSID (with extension), National Image<br />
Transfer Format (NITF) (with extension), Sun raster files,TIFF,TIFF/LZW<br />
compressed.<br />
Note: ArcView GIS does not rotate, or warp, images. If your world file<br />
has non-zero rotation terms (D and B parameters), the image<br />
may change its position relative to vector data in the same view<br />
when you zoom or pan.<br />
To register an image in ArcView 3.2 the script “register.avx” can help.This<br />
extension can be found on the <strong>EMIS</strong> CD-ROM.This extension was created<br />
to register aerial photos that are already ortho-rectified.This extension<br />
works with jpg and bmp type images, as well as with tif, bsq, bip, bil and sun<br />
image types.<br />
This extension will create a world file for an image by picking control<br />
points between the image and a projected feature theme.The first order fit<br />
can shift the image up or down and stretch the image both vertically and<br />
horizontally. Keep this in mind, because it will not “warp” or “rubber sheet”<br />
the image.<br />
1. To use this extension place it in your ext32 directory and from the<br />
File -Extensions menu select the Image to Map World File Creator.<br />
2. You should see a blue diamond on the Project Button Bar. Press this<br />
button to begin and you will be asked for the name of the image you<br />
want to create a World File for and the name of the Feature Theme you<br />
want to register it to.<br />
3. On the left side of your tool bar you will see a new tool that looks like<br />
a flag. Choose this tool and with it pick Ground Control Points (GCP’s)<br />
that have the same spatial location for both the image and the feature<br />
theme,To do this, select a point on the image. Select a point on the<br />
feature theme that is the same location.This constitutes 1 GCP pair.<br />
4. Now continue: select a point on the image, select a point on the feature<br />
theme that is the same location.<br />
5. Continue doing this until you have at least 6 GCP pairs.<br />
For a first order fit you need a minimum of 3 pairs. However, it is<br />
recommended that you have twice the minimum, so the code is set<br />
up so that you have to pick 6 pairs.<br />
6. Once your GCP’s are chosen minimise the two views and open the<br />
table called Ground Control Point Table.<br />
This table has 6 fields:<br />
Use Pnts You will notice every record has this field ON<br />
Input x For the image x co-ordinate<br />
Input y For the image y co-ordinate<br />
Output x For the output x co-ordinate<br />
Output y For the output y co-ordinate<br />
rms Will display the Root Mean Square for each<br />
record<br />
134