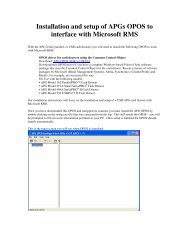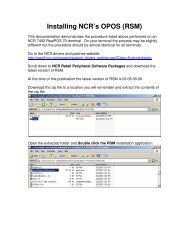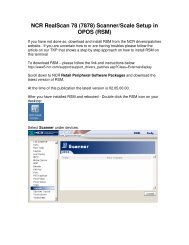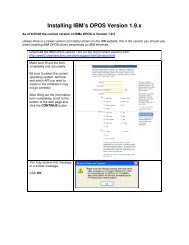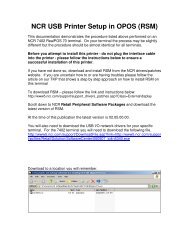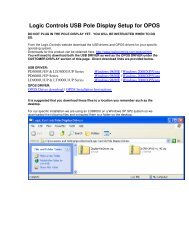
using OPOS
using OPOS
using OPOS

Create successful ePaper yourself
Turn your PDF publications into a flip-book with our unique Google optimized e-Paper software.
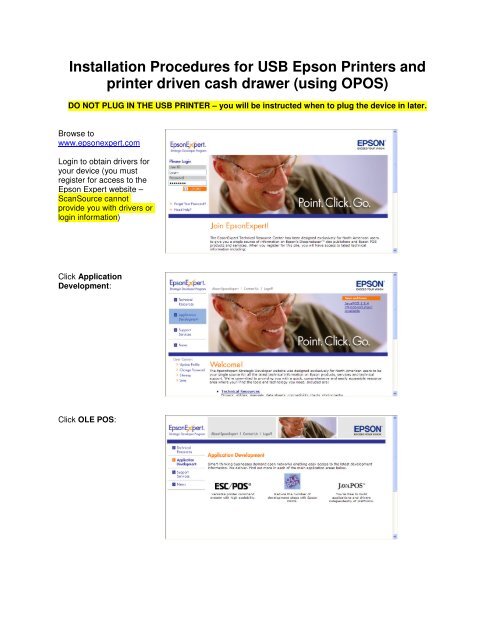
Installation Procedures for USB Epson Printers andprinter driven cash drawer (<strong>using</strong> <strong>OPOS</strong>)DO NOT PLUG IN THE USB PRINTER – you will be instructed when to plug the device in later.Browse towww.epsonexpert.comLogin to obtain drivers foryour device (you mustregister for access to theEpson Expert website –ScanSource cannotprovide you with drivers orlogin information)Click ApplicationDevelopment:Click OLE POS:
Download the latest fullversion of <strong>OPOS</strong>.At time of this publication2.61E is the latest version.Click the DOWNLOADICON to start download.Click SAVE and save thisto a known location.Save the files in a placeyou will remember.Creating a folder on thedesktop may make thedownload easier to find.
Double-click the <strong>OPOS</strong> fileon the desktop (or locationyou downloaded to).Click RUN.Extract the <strong>OPOS</strong> zippackage to the desktop orlocation of your choosing.We created an <strong>OPOS</strong>folder on the desktop.Select the location whereyou want to extract to andclick UNZIPClick OK
Click CLOSE on theWinZip Self-Extractor.Run the installation of<strong>OPOS</strong>.Double click SETUP.EXEfrom the disk 1 folderClick NEXT
Click "I accept the termsin the LicenseAgreement"Click NEXT:Click “No registry file”and NEXT:
Click NEXT:Click NEXT
Select interface of theprinter you will be installingClick NEXTOpos will now install
Click FINISH<strong>OPOS</strong> will now load.You will see on the topbar that you are <strong>using</strong><strong>OPOS</strong> Version 2.61ENow Plug in your USBPrinter (you should see amessage at the bottom ofyour screen)You will then see amessage at the bottomright of the screenindicating an Epson USBprinter has been found andthen a message that it hasbeen installed and readyfor use.
In <strong>OPOS</strong> click EDIT Add New Device. SelectPOSPrinter and clickNEXT:Select your device anddevice model (modelname will end in U forUSB).Give your device an LDNnameRemember this name –you will need it to enterinto your POS application.Click NEXT
Click CheckHealthInteractiveClick START and yourprinter should print and thetest will return<strong>OPOS</strong>_SUCCESS if alldevices are setupcorrectly.Click CLOSEClick OK:
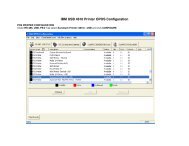
Click FINISHNow the printer device issetup and shown in <strong>OPOS</strong>:
Click EDIT Add NewDevice.Select CashDrawer andclick NEXTSelect Multi_A as thedevice Name andMulti_AU as the detailedmodel.Give your device an LDNnameRemember this name –you will need it to enterinto your POS application.Click NEXT
Verify port settingsClick CheckHealthInteractiveClick Start and the drawershould open if all devicesare setup correctly<strong>OPOS</strong> will return theCheckHealth result.Click OK
Click FINISH:You may receive thiswarning – everything isfine. This message justindicates that both thecash drawer and printerare <strong>using</strong> the same port.Click OK
Now the Cash Drawer isshown in <strong>OPOS</strong>Your printer and your cash drawer are both setup as <strong>OPOS</strong> devices and are ready for use by your POSapplication.Please make note of the LDN name you used here as your POS application will need them in order toutilize these devices as an <strong>OPOS</strong> device.