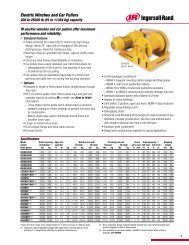
Palair Plus - Ingersoll Rand Industrial Technologies On-line ...
Palair Plus - Ingersoll Rand Industrial Technologies On-line ...
Palair Plus - Ingersoll Rand Industrial Technologies On-line ...

You also want an ePaper? Increase the reach of your titles
YUMPU automatically turns print PDFs into web optimized ePapers that Google loves.
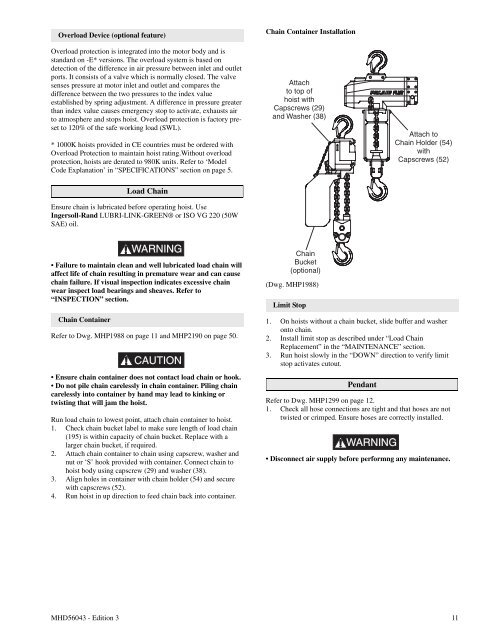
Overload Device (optional feature)Chain Container InstallationOverload protection is integrated into the motor body and isstandard on -E* versions. The overload system is based ondetection of the difference in air pressure between inlet and outletports. It consists of a valve which is normally closed. The valvesenses pressure at motor inlet and outlet and compares thedifference between the two pressures to the index valueestablished by spring adjustment. A difference in pressure greaterthan index value causes emergency stop to activate, exhausts airto atmosphere and stops hoist. Overload protection is factory presetto120%ofthesafeworkingload(SWL).* 1000K hoists provided in CE countries must be ordered withOverload Protection to maintain hoist rating.Without overloadprotection, hoists are derated to 980K units. Refer to ‘ModelCode Explanation’ in “SPECIFICATIONS” section on page 5.Load ChainEnsure chain is lubricated before operating hoist. Use<strong>Ingersoll</strong>-<strong>Rand</strong> LUBRI-LINK-GREEN® or ISO VG 220 (50WSAE) oil.WARNING• Failure to maintain clean and well lubricated load chain willaffect life of chain resulting in premature wear and can causechain failure. If visual inspection indicates excessive chainwear inspect load bearings and sheaves. Refer to“INSPECTION” section.Chain ContainerRefer to Dwg. MHP1988 on page 11 and MHP2190 on page 50.CAUTION• Ensure chain container does not contact load chain or hook.• Do not pile chain carelessly in chain container. Piling chaincarelessly into container by hand may lead to kinking ortwisting that will jam the hoist.Run load chain to lowest point, attach chain container to hoist.1. Check chain bucket label to make sure length of load chain(195) is within capacity of chain bucket. Replace with alarger chain bucket, if required.2. Attach chain container to chain using capscrew, washer andnut or ‘S’ hook provided with container. Connect chain tohoist body using capscrew (29) and washer (38).3. Align holes in container with chain holder (54) and securewith capscrews (52).4. Run hoist in up direction to feed chain back into container.(Dwg. MHP1988)Limit Stop1. <strong>On</strong> hoists without a chain bucket, slide buffer and washeronto chain.2. Install limit stop as described under “Load ChainReplacement” in the “MAINTENANCE” section.3. Run hoist slowly in the “DOWN” direction to verify limitstop activates cutout.PendantRefer to Dwg. MHP1299 on page 12.1. Check all hose connections are tight and that hoses are nottwisted or crimped. Ensure hoses are correctly installed.WARNING• Disconnect air supply before performng any maintenance.MHD56043 - Edition 3 11