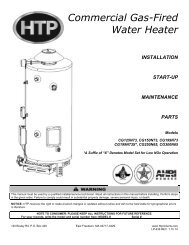
Download Installation Manual (.pdf) - Heat Transfer Products, Inc
Download Installation Manual (.pdf) - Heat Transfer Products, Inc
Download Installation Manual (.pdf) - Heat Transfer Products, Inc
- No tags were found...

Create successful ePaper yourself
Turn your PDF publications into a flip-book with our unique Google optimized e-Paper software.
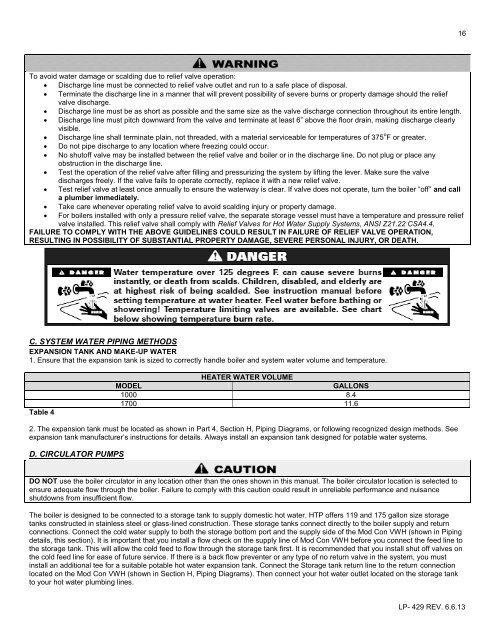
16To avoid water damage or scalding due to relief valve operation: Discharge line must be connected to relief valve outlet and run to a safe place of disposal. Terminate the discharge line in a manner that will prevent possibility of severe burns or property damage should the reliefvalve discharge. Discharge line must be as short as possible and the same size as the valve discharge connection throughout its entire length. Discharge line must pitch downward from the valve and terminate at least 6” above the floor drain, making discharge clearlyvisible. Discharge line shall terminate plain, not threaded, with a material serviceable for temperatures of 375 o F or greater. Do not pipe discharge to any location where freezing could occur. No shutoff valve may be installed between the relief valve and boiler or in the discharge line. Do not plug or place anyobstruction in the discharge line. Test the operation of the relief valve after filling and pressurizing the system by lifting the lever. Make sure the valvedischarges freely. If the valve fails to operate correctly, replace it with a new relief valve. Test relief valve at least once annually to ensure the waterway is clear. If valve does not operate, turn the boiler “off” and calla plumber immediately. Take care whenever operating relief valve to avoid scalding injury or property damage. For boilers installed with only a pressure relief valve, the separate storage vessel must have a temperature and pressure reliefvalve installed. This relief valve shall comply with Relief Valves for Hot Water Supply Systems, ANSI Z21.22 CSA4.4.FAILURE TO COMPLY WITH THE ABOVE GUIDELINES COULD RESULT IN FAILURE OF RELIEF VALVE OPERATION,RESULTING IN POSSIBILITY OF SUBSTANTIAL PROPERTY DAMAGE, SEVERE PERSONAL INJURY, OR DEATH.C. SYSTEM WATER PIPING METHODSEXPANSION TANK AND MAKE-UP WATER1. Ensure that the expansion tank is sized to correctly handle boiler and system water volume and temperature.Table 4HEATER WATER VOLUMEMODELGALLONS1000 8.41700 11.62. The expansion tank must be located as shown in Part 4, Section H, Piping Diagrams, or following recognized design methods. Seeexpansion tank manufacturer’s instructions for details. Always install an expansion tank designed for potable water systems.D. CIRCULATOR PUMPSDO NOT use the boiler circulator in any location other than the ones shown in this manual. The boiler circulator location is selected toensure adequate flow through the boiler. Failure to comply with this caution could result in unreliable performance and nuisanceshutdowns from insufficient flow.The boiler is designed to be connected to a storage tank to supply domestic hot water. HTP offers 119 and 175 gallon size storagetanks constructed in stainless steel or glass-lined construction. These storage tanks connect directly to the boiler supply and returnconnections. Connect the cold water supply to both the storage bottom port and the supply side of the Mod Con VWH (shown in Pipingdetails, this section). It is important that you install a flow check on the supply line of Mod Con VWH before you connect the feed line tothe storage tank. This will allow the cold feed to flow through the storage tank first. It is recommended that you install shut off valves onthe cold feed line for ease of future service. If there is a back flow preventer or any type of no return valve in the system, you mustinstall an additional tee for a suitable potable hot water expansion tank. Connect the Storage tank return line to the return connectionlocated on the Mod Con VWH (shown in Section H, Piping Diagrams). Then connect your hot water outlet located on the storage tankto your hot water plumbing lines.LP- 429 REV. 6.6.13