Instruction Manual - Auto Body Toolmart
Instruction Manual - Auto Body Toolmart
Instruction Manual - Auto Body Toolmart
- No tags were found...
You also want an ePaper? Increase the reach of your titles
YUMPU automatically turns print PDFs into web optimized ePapers that Google loves.
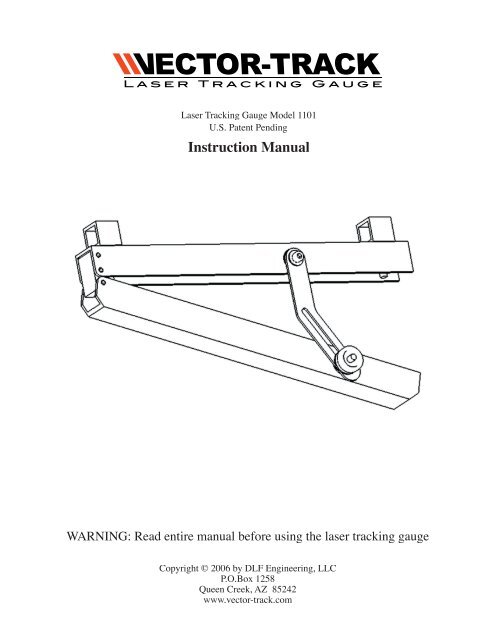
Vector-Track <strong>Instruction</strong> <strong>Manual</strong>PLACING AND AIMING THE TRACKING GAUGE1. Loosen the thumbnut approximately one turn and open the gauge, exposing the laser body and switch.2. Turn the laser on. (Follow safety instructions.)3. Adjust thumbnut so V-frame opens and closes with moderate resistance.4. Rotate swivel blocks to align with edge of left rear wheel and place gauge against edge of wheel rimor step of rim as shown in figure 5.figure 5Gauge placement atleft rear wheel5. Aim laser at target. Move laser dot vertically by adjusting position of gauge on rim of wheel. Movelaser dot horizontally by opening or closing V-frame.6. Snug thumbnut to hold V-frame position. (Do not over tighten thumbnut.) Re-check horizontal positionto make sure laser dot is located in center of target. When moving tracking gauge from left rearwheel to right rear wheel, keep laser aimed at ground as a safety precaution.7. Turn tracking gauge over, rotate swivel blocks as necessary and place against right rear wheel asshown in figure 6.figure 6Gauge placement atright rear wheel4
Vector-Track <strong>Instruction</strong> <strong>Manual</strong>8. Aim laser at target on right side of vehicle. Move laser dot vertically by adjusting position of gaugeon the rim of the wheel. DO NOT ADJUST HORIZONTALLY. If the laser dot does not line up withthe center of he target, the rear end is tracking off in the direction that the laser dot is off. The amountof tracking error is 1/2 of the distance that the laser dot is off. When using the target provided in thetracking gauge kit, the reading on the target is the actual tracking error measured in millimeters.(See figure 7).201510505101520figure 710. To use tracking gauge on rear brake rotors, see figure 8. At least two lug nuts should be snug oneach rotor for proper rotor alignment. (Do not damage rotors or lug nuts by over-tightening lug nuts.It may be beneficial to reverse lug nuts to prevent damage.)figure 8Gauge placement atleft rear rotor5
Vector-Track <strong>Instruction</strong> <strong>Manual</strong>11. Crowned lug nuts may require washers under the nuts for proper seating.12. The tracking gauge is made to fit wheel sizes of 14 inches or larger. It may be adjusted for smallerwheels by moving the swivel block at the open end of the gauge into one of the two other holesprovided. Insert a hex key through the hold in the swivel block and place a 7/16” wrench or socketon the nut in the aluminum channel. Remove the nut, being careful not to lose the spring or washers.Refer to exploded view (figure 9) if necessary for reassembly. Do notover-tighten.figure 9COMMON REASONS FOR OFFEST REAR END TRACKING(OR “DOG TRACKING”)a. Diamond (or parallelogram) in the center section of the frameb. Sheared centering bolt or centering pin where the rear leaf spring attaches to the differentialc. Bent leaf springs; usually at or near the front bushing “eye.”d. Damaged leaf spring mounting bracket, usually bent forward or back from front or rear impact.e. Bent trailing arm or trailing arm bracket on vehicles with rear coil springs.f. Bent tracking bar of tracking bar bracket on vehicles with rear coil springs.HOW TO CHANGE BATTERIES1. Loosen wing nut and open tracking gauge frame.2. Place tracking gauge on a table or bench.3. Make sure laser switch is in “off” position.4. Remove thumb screw(s) holding laser module.5. Remove laser module from gauge.6. Change out batteries and place batteries in correct direction.7. When placing laser module into gauge, do not over-tighten thumb screw(s). Do not use pliers totighten thumb screw(s).8. Re-check to make sure it is in “off” position.6
Vector-Track <strong>Instruction</strong> <strong>Manual</strong>LIMITED WARRANTYWarranty PeriodVector-Track is warrantied for a period of one year to the original purchaser.Warranty CoverageThis product is warrantied only against defects in materials and workmanship. No other warranty exists,express or implied.Warranty DisclaimersThis warranty does not apply to negligence, accidents, misuse or abuse, lack of maintenance, or damagesdone directly or indirectly due to repairs or alterations by unauthorized persons. We shall in no event beliable for property damage, personal injury, or death, or for consequential, incidental, or special damagesarising from the use of this product.Legal RightsSome states do not allow the exclusion of incidental or consequential damages, so the above limitationor exclusion may not apply to you.This warranty gives you legal rights that vary from state to state.Warranty PerformanceReturn the product postage-paid with suitable packaging, proof of purchase date, description of the complaint,and a daytime phone number.If we determine that the complaint is covered by warranty, the product will be repaired or replaced at ourelection, or we may elect to refund the purchase price if we cannot provide a replacement.If we determine that the complaint is not covered by warranty, the purchaser may elect to pay for repairsor replacement and return shipping.7


