TECHNICAL PAPER Building Tools for Houdini 9
TECHNICAL PAPER Building Tools for Houdini 9 - Digital Cinema Arts
TECHNICAL PAPER Building Tools for Houdini 9 - Digital Cinema Arts
- No tags were found...
Create successful ePaper yourself
Turn your PDF publications into a flip-book with our unique Google optimized e-Paper software.
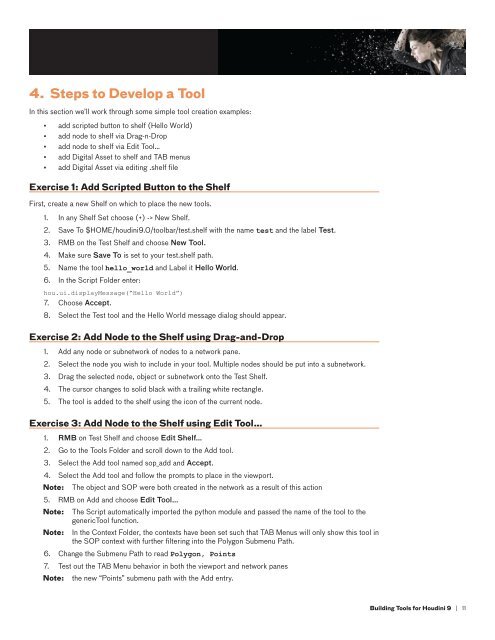
4.Steps to Develop a ToolIn this section we’ll work through some simple tool creation examples:▪▪▪▪▪▪▪▪▪▪add scripted button to shelf (Hello World)add node to shelf via Drag-n-Dropadd node to shelf via Edit Tool…add Digital Asset to shelf and TAB menusadd Digital Asset via editing .shelf fileExercise 1: Add Scripted Button to the ShelfFirst, create a new Shelf on which to place the new tools.1.In any Shelf Set choose (+) -> New Shelf.2. Save To $HOME/houdini9.0/toolbar/test.shelf with the name test and the label Test.3. RMB on the Test Shelf and choose New Tool.4. Make sure Save To is set to your test.shelf path.5. Name the tool hello_world and Label it Hello World.6.In the Script Folder enter:hou.ui.displayMessage(“Hello World”)7. Choose Accept.8.Select the Test tool and the Hello World message dialog should appear.Exercise 2: Add Node to the Shelf using Drag-and-Drop1.2.3.4.5.Add any node or subnetwork of nodes to a network pane.Select the node you wish to include in your tool. Multiple nodes should be put into a subnetwork.Drag the selected node, object or subnetwork onto the Test Shelf.The cursor changes to solid black with a trailing white rectangle.The tool is added to the shelf using the icon of the current node.Exercise 3: Add Node to the Shelf using Edit Tool…1. RMB on Test Shelf and choose Edit Shelf…2.Go to the <strong>Tools</strong> Folder and scroll down to the Add tool.3. Select the Add tool named sop_add and Accept.4.Note:Select the Add tool and follow the prompts to place in the viewport.The object and SOP were both created in the network as a result of this action5. RMB on Add and choose Edit Tool…Note:Note:The Script automatically imported the python module and passed the name of the tool to thegenericTool function.In the Context Folder, the contexts have been set such that TAB Menus will only show this tool inthe SOP context with further filtering into the Polygon Submenu Path.6. Change the Submenu Path to read Polygon, Points7.Note:Test out the TAB Menu behavior in both the viewport and network panesthe new “Points” submenu path with the Add entry.<strong>Building</strong> <strong>Tools</strong> <strong>for</strong> <strong>Houdini</strong> 9 | 11


