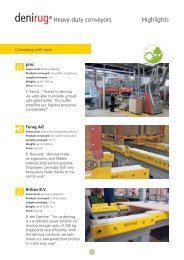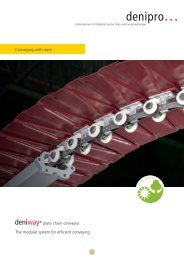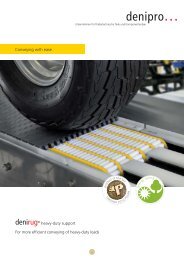
Conveying with ease Fitting and operational manual Declaration of ...
Conveying with ease Fitting and operational manual Declaration of ...
Conveying with ease Fitting and operational manual Declaration of ...

You also want an ePaper? Increase the reach of your titles
YUMPU automatically turns print PDFs into web optimized ePapers that Google loves.
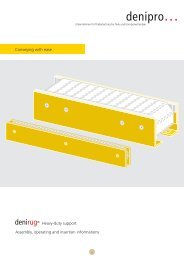
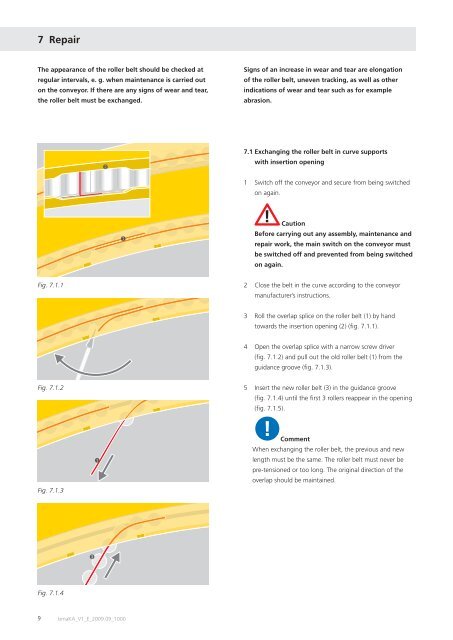
7 Repair<br />
The appearance <strong>of</strong> the roller belt should be checked at<br />
regular intervals, e. g. when maintenance is carried out<br />
on the conveyor. If there are any signs <strong>of</strong> wear <strong>and</strong> tear,<br />
the roller belt must be exchanged.<br />
Fig. 7.1.1<br />
Fig. 7.1.2<br />
Fig. 7.1.3<br />
Fig. 7.1.4<br />
➌<br />
➊<br />
➋<br />
➊<br />
9 bmaKA_V1_E_2009.09_1000<br />
Signs <strong>of</strong> an incr<strong>ease</strong> in wear <strong>and</strong> tear are elongation<br />
<strong>of</strong> the roller belt, uneven tracking, as well as other<br />
indications <strong>of</strong> wear <strong>and</strong> tear such as for example<br />
abrasion.<br />
7.1 Exchanging the roller belt in curve supports<br />
<strong>with</strong> insertion opening<br />
1 Switch <strong>of</strong>f the conveyor <strong>and</strong> secure from being switched<br />
on again.<br />
Caution<br />
Before carrying out any assembly, maintenance <strong>and</strong><br />
repair work, the main switch on the conveyor must<br />
be switched <strong>of</strong>f <strong>and</strong> prevented from being switched<br />
on again.<br />
2 Close the belt in the curve according to the conveyor<br />
manufacturer’s instructions.<br />
3 Roll the overlap splice on the roller belt (1) by h<strong>and</strong><br />
towards the insertion opening (2) (fi g. 7.1.1).<br />
4 Open the overlap splice <strong>with</strong> a narrow screw driver<br />
(fi g. 7.1.2) <strong>and</strong> pull out the old roller belt (1) from the<br />
guidance groove (fi g. 7.1.3).<br />
5 Insert the new roller belt (3) in the guidance groove<br />
(fi g. 7.1.4) until the fi rst 3 rollers reappear in the opening<br />
(fi g. 7.1.5).<br />
Comment<br />
When exchanging the roller belt, the previous <strong>and</strong> new<br />
length must be the same. The roller belt must never be<br />
pre-tensioned or too long. The original direction <strong>of</strong> the<br />
overlap should be maintained.