
You also want an ePaper? Increase the reach of your titles
YUMPU automatically turns print PDFs into web optimized ePapers that Google loves.
G<br />
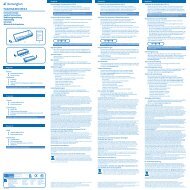
Your <strong>MultiBind</strong> <strong>420</strong> offers the following capabilities:<br />
Punching Paper (80gsm)<br />
Punching PVC Plastic Foils (0.2mm)<br />
Max. Binding Element Capacity<br />
Approx. Binding Capacity (80gsm)<br />
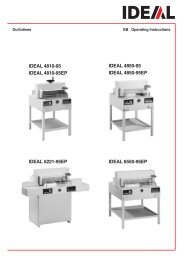
Setting up<br />
• Place the unit on a stable surface.<br />
• Fold up the document stand (cover) (1).<br />
• Push the two transport locks of the transport guard inwards<br />
(2).<br />
• Move the punch handle upwards until the limit stop (3).<br />
• Move the binding lever upwards until the limit stop. A spring<br />
in the unit presses the binding lever a few centimetres to the<br />
side so that you can use this easily.<br />
Your <strong>MultiBind</strong> <strong>420</strong> is now ready for use.<br />
GBC <strong>MultiBind</strong> <strong>420</strong><br />
20 sheets Comb<br />
12 sheets Wire/Click<br />
Max. 2 PVC Foils<br />
51mm CombBind<br />
14mm WireBind<br />
16mm ClickBind<br />
450 Sheets CombBind<br />
125 Sheets WireBind<br />
145 Sheets ClickBind<br />
Transporting or storing the unit<br />
1 Locking the unit<br />
• Press the binder lever towards the unit and fold this<br />
downwards (1).<br />
• Push down the punching lever (2).<br />
• Push the two latches outwards to lock the punching lever<br />
(3). Make sure that the punch handle can no longer be<br />
moved.<br />
• Fold down the document stand (4).<br />
2 Transporting or storing the unit<br />
You can now use the punch handle as a carrying handle.<br />
This lets you transport the unit easily and it can now be<br />
stored either in an upright position or lying down.<br />
m<br />
Warning: Danger of injury! Before transporting<br />
the unit, always make sure that the punching<br />
lever has been correctly locked.<br />
Emptying the clippings tray<br />
1 Lock the unit<br />
2 Place the unit in an upright position and fold out the tray on<br />
the underside of the unit and empty it.<br />
3 Replace the tray until the spring locks into place.<br />
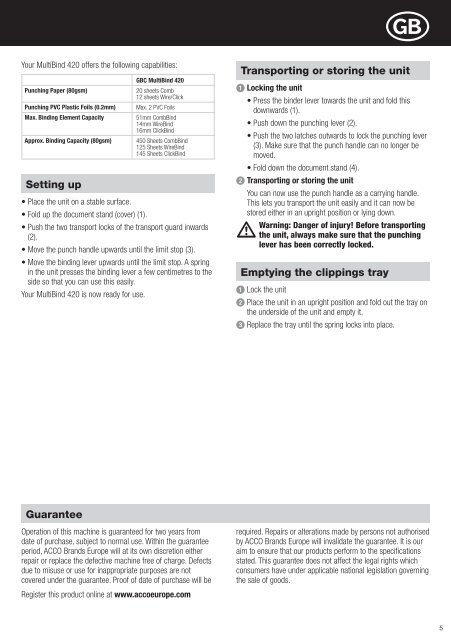
Guarantee<br />
Operation of this machine is guaranteed for two years from<br />
date of purchase, subject to normal use. Within the guarantee<br />
period, ACCO Brands Europe will at its own discretion either<br />
repair or replace the defective machine free of charge. Defects<br />
due to misuse or use for inappropriate purposes are not<br />
covered under the guarantee. Proof of date of purchase will be<br />
Register this product online at www.accoeurope.com<br />
required. Repairs or alterations made by persons not authorised<br />
by ACCO Brands Europe will invalidate the guarantee. It is our<br />
aim to ensure that our products perform to the specifications<br />
stated. This guarantee does not affect the legal rights which<br />
consumers have under applicable national legislation governing<br />
the sale of goods.