Jøtul C 21 / C 22
Jøtul C 21 / C 22
Jøtul C 21 / C 22
- No tags were found...
You also want an ePaper? Increase the reach of your titles
YUMPU automatically turns print PDFs into web optimized ePapers that Google loves.
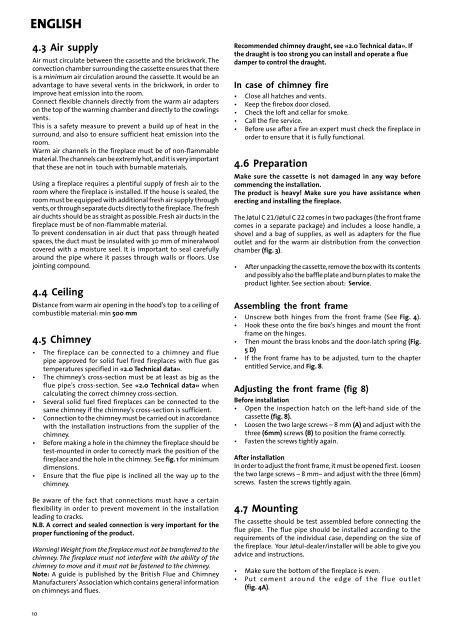
english4.3 Air supplyAir must circulate between the cassette and the brickwork. Theconvection chamber surrounding the cassette ensures that thereis a minimum air circulation around the cassette. It would be anadvantage to have several vents in the brickwork, in order toimprove heat emission into the room.Connect flexible channels directly from the warm air adapterson the top of the warming chamber and directly to the cowlingsvents.This is a safety measure to prevent a build up of heat in thesurround, and also to ensure sufficient heat emission into theroom.Warm air channels in the fireplace must be of non-flammablematerial. The channels can be extremly hot, and it is very importantthat these are not in touch with burnable materials.Using a fireplace requires a plentiful supply of fresh air to theroom where the fireplace is installed. If the house is sealed, theroom must be equipped with additional fresh air supply throughvents, or through separate ducts directly to the fireplace. The freshair duchts should be as straight as possible. Fresh air ducts in thefireplace must be of non-flammable material.To prevent condensation in air duct that pass through heatedspaces, the duct must be insulated with 30 mm of mineralwoolcovered with a moisture seel. It is important to seal carefullyaround the pipe where it passes through walls or floors. Usejointing compound.4.4 CeilingDistance from warm air opening in the hood’s top to a ceiling ofc0mbustible material: min 500 mm4.5 Chimney• The fireplace can be connected to a chimney and fluepipe approved for solid fuel fired fireplaces with flue gastemperatures specified in «2.0 Technical data».• The chimney’s cross-section must be at least as big as theflue pipe’s cross-section. See «2.0 Technical data» whencalculating the correct chimney cross-section.• Several solid fuel fired fireplaces can be connected to thesame chimney if the chimney’s cross-section is sufficient.• Connection to the chimney must be carried out in accordancewith the installation instructions from the supplier of thechimney.• Before making a hole in the chimney the fireplace should betest-mounted in order to correctly mark the position of thefireplace and the hole in the chimney. See fig. 1 for minimumdimensions.• Ensure that the flue pipe is inclined all the way up to thechimney.Be aware of the fact that connections must have a certainflexibility in order to prevent movement in the installationleading to cracks.N.B. A correct and sealed connection is very important for theproper functioning of the product.Warning! Weight from the fireplace must not be transferred to thechimney. The fireplace must not interfere with the ability of thechimney to move and it must not be fastened to the chimney.Note: A guide is published by the British Flue and ChimneyManufacturers’ Association which contains general informationon chimneys and flues.Recommended chimney draught, see «2.0 Technical data». Ifthe draught is too strong you can install and operate a fluedamper to control the draught.In case of chimney fire• Close all hatches and vents.• Keep the firebox door closed.• Check the loft and cellar for smoke.• Call the fire service.• Before use after a fire an expert must check the fireplace inorder to ensure that it is fully functional.4.6 PreparationMake sure the cassette is not damaged in any way beforecommencing the installation.The product is heavy! Make sure you have assistance whenerecting and installing the fireplace.The Jøtul C <strong>21</strong>/Jøtul C <strong>22</strong> comes in two packages (the front framecomes in a separate package) and includes a loose handle, ashovel and a bag of supplies, as well as adapters for the flueoutlet and for the warm air distribution from the convectionchamber (fig. 3).• After unpacking the cassette, remove the box with its contentsand possibly also the baffle plate and burn plates to make theproduct lighter. See section about: Service.Assembling the front frame• Unscrew both hinges from the front frame (See Fig. 4).• Hook these onto the fire box’s hinges and mount the frontframe on the hinges.• Then mount the brass knobs and the door-latch spring (Fig.5 D)• If the front frame has to be adjusted, turn to the chapterentitled Service, and Fig. 8.Adjusting the front frame (fig 8)Before installation• Open the inspection hatch on the left-hand side of thecassette (fig. 8).• Loosen the two large screws – 8 mm (A) and adjust with thethree (6mm) screws (B) to position the frame correctly.• Fasten the screws tightly again.After installationIn order to adjust the front frame, it must be opened first. Loosenthe two large screws – 8 mm– and adjust with the three (6mm)screws. Fasten the screws tightly again.4.7 MountingThe cassette should be test assembled before connecting theflue pipe. The flue pipe should be installed according to therequirements of the individual case, depending on the size ofthe fireplace. Your Jøtul-dealer/installer will be able to give youadvice and instructions.• Make sure the bottom of the fireplace is even.• Put cement around the edge of the flue outlet(fig. 4A).10


