

BRUGSANVISNING INSTRUCTION MANUAL ... - royal consul europe
BRUGSANVISNING INSTRUCTION MANUAL ... - royal consul europe
BRUGSANVISNING INSTRUCTION MANUAL ... - royal consul europe

You also want an ePaper? Increase the reach of your titles
YUMPU automatically turns print PDFs into web optimized ePapers that Google loves.
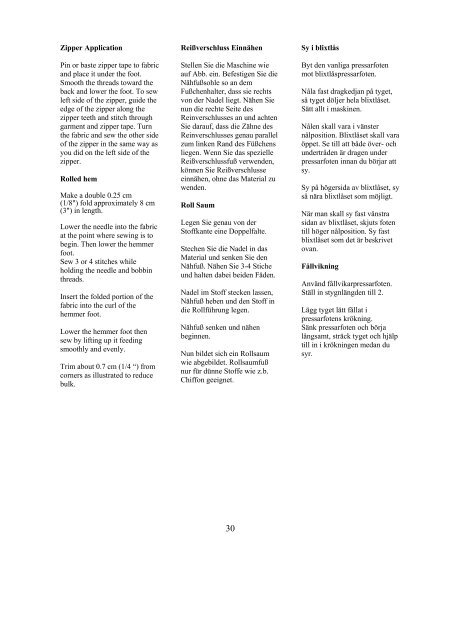
Zipper Application<br />
Pin or baste zipper tape to fabric<br />
and place it under the foot.<br />
Smooth the threads toward the<br />
back and lower the foot. To sew<br />
left side of the zipper, guide the<br />
edge of the zipper along the<br />
zipper teeth and stitch through<br />
garment and zipper tape. Turn<br />
the fabric and sew the other side<br />
of the zipper in the same way as<br />
you did on the left side of the<br />
zipper.<br />
Rolled hem<br />
Make a double 0.25 cm<br />
(1/8") fold approximately 8 cm<br />
(3") in length.<br />
Lower the needle into the fabric<br />
at the point where sewing is to<br />
begin. Then lower the hemmer<br />
foot.<br />
Sew 3 or 4 stitches while<br />
holding the needle and bobbin<br />
threads.<br />
Insert the folded portion of the<br />
fabric into the curl of the<br />
hemmer foot.<br />
Lower the hemmer foot then<br />
sew by lifting up it feeding<br />
smoothly and evenly.<br />
Trim about 0.7 cm (1/4 “) from<br />
corners as illustrated to reduce<br />
bulk.<br />
Reißverschluss Einnähen<br />
Stellen Sie die Maschine wie<br />
auf Abb. ein. Befestigen Sie die<br />
Nähfußsohle so an dem<br />
Fußchenhalter, dass sie rechts<br />
von der Nadel liegt. Nähen Sie<br />
nun die rechte Seite des<br />
Reinverschlusses an und achten<br />
Sie darauf, dass die Zähne des<br />
Reinverschlusses genau parallel<br />
zum linken Rand des Füßchens<br />
liegen. Wenn Sie das spezielle<br />
Reißverschlussfuß verwenden,<br />
können Sie Reißverschlusse<br />
einnähen, ohne das Material zu<br />
wenden.<br />
Roll Saum<br />
Legen Sie genau von der<br />
Stoffkante eine Doppelfalte.<br />
Stechen Sie die Nadel in das<br />
Material und senken Sie den<br />
Nähfuß. Nähen Sie 3-4 Stiche<br />
und halten dabei beiden Fäden.<br />
Nadel im Stoff stecken lassen,<br />
Nähfuß heben und den Stoff in<br />
die Rollführung legen.<br />
Nähfuß senken und nähen<br />
beginnen.<br />
Nun bildet sich ein Rollsaum<br />
wie abgebildet. Rollsaumfuß<br />
nur für dünne Stoffe wie z.b.<br />
Chiffon geeignet.<br />
30<br />
Sy i blixtlås<br />
Byt den vanliga pressarfoten<br />
mot blixtlåspressarfoten.<br />
Nåla fast dragkedjan på tyget,<br />
så tyget döljer hela blixtlåset.<br />
Sätt allt i maskinen.<br />
Nålen skall vara i vänster<br />
nålposition. Blixtlåset skall vara<br />
öppet. Se till att både över- och<br />
undertråden är dragen under<br />
pressarfoten innan du börjar att<br />
sy.<br />
Sy på högersida av blixtlåset, sy<br />
så nära blixtlåset som möjligt.<br />
När man skall sy fast vänstra<br />
sidan av blixtlåset, skjuts foten<br />
till höger nålposition. Sy fast<br />
blixtlåset som det är beskrivet<br />
ovan.<br />
Fållvikning<br />
Använd fållvikarpressarfoten.<br />
Ställ in stygnlängden till 2.<br />
Lägg tyget lätt fållat i<br />
pressarfotens krökning.<br />
Sänk pressarfoten och börja<br />
långsamt, sträck tyget och hjälp<br />
till in i krökningen medan du<br />
syr.