DT-X7 CI - Radix
DT-X7 CI - Radix
DT-X7 CI - Radix

Sie wollen auch ein ePaper? Erhöhen Sie die Reichweite Ihrer Titel.
YUMPU macht aus Druck-PDFs automatisch weboptimierte ePaper, die Google liebt.
Modify Satellite TP Information<br />
To modify the TP information, move to the satellite you want and then press the OK button.<br />
The satellite TP information appears on the right side of the screen.<br />
Select the TP information you want to modify and then press the OK button.<br />
Modify the TP information, such as Frequency, Polarization, Symbol Rate, etc., and then<br />
press the OK button. (Use the Numeric buttons to enter Frequency and Symbol Rate<br />
information, and use the buttons to enter H / V information).<br />
After the changes are made, press the OK button to update the TP information.<br />
To cancel the TP information modification process, press the BACK button.<br />
Add Satellite TP Information<br />
Move to the bottom of the screen where the satellite TP information is displayed and then<br />
press the OK button.<br />
Enter the TP information you want to add, such as Frequency, Polarization (H / V), Symbol<br />
Rate, etc. (Use the Numeric buttons to enter Frequency and Symbol Rate information, and<br />
use the buttons to enter H / V information).<br />
Press the OK button to register the TP information.<br />
To cancel the TP information addition process, press the BACK button.<br />
Remove Satellite TP Information<br />
Move to the TP information you want to delete.<br />
Press the button. A message asking for your confirmation asking for your confirmation<br />
appears.<br />
If you want to delete, press the OK button. Otherwise, press the BACK button or the EXIT<br />
button.<br />
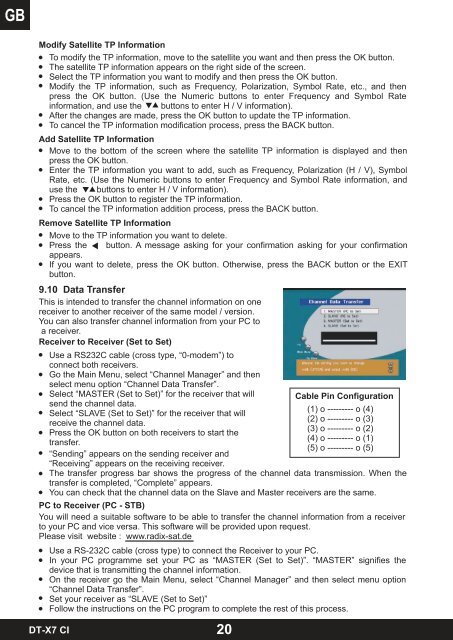
9.10 Data Transfer<br />
This is intended to transfer the channel information on one<br />
receiver to another receiver of the same model / version.<br />
You can also transfer channel information from your PC to<br />
a receiver.<br />
Receiver to Receiver (Set to Set)<br />
Use a RS232C cable (cross type, “0-modem”) to<br />
connect both receivers.<br />
Go the Main Menu, select “Channel Manager” and then<br />
select menu option “Channel Data Transfer”.<br />
Select “MASTER (Set to Set)” for the receiver that will Cable Pin Configuration<br />
send the channel data.<br />
Select “SLAVE (Set to Set)” for the receiver that will<br />
(1) o --------- o (4)<br />
receive the channel data.<br />
(2) o --------- o (3)<br />
Press the OK button on both receivers to start the<br />
(3) o --------- o (2)<br />
transfer.<br />
(4) o --------- o (1)<br />
(5) o --------- o (5)<br />
“Sending” appears on the sending receiver and<br />
“Receiving” appears on the receiving receiver.<br />
The transfer progress bar shows the progress of the channel data transmission. When the<br />
transfer is completed, “Complete” appears.<br />
You can check that the channel data on the Slave and Master receivers are the same.<br />
PC to Receiver (PC - STB)<br />
You will need a suitable software to be able to transfer the channel information from a receiver<br />
to your PC and vice versa. This software will be provided upon request.<br />
Please visit website : www.radix-sat.de<br />
Use a RS-232C cable (cross type) to connect the Receiver to your PC.<br />
In your PC programme set your PC as “MASTER (Set to Set)”. “MASTER” signifies the<br />
device that is transmitting the channel information.<br />
On the receiver go the Main Menu, select “Channel Manager” and then select menu option<br />
“Channel Data Transfer”.<br />
Set your receiver as “SLAVE (Set to Set)”<br />
Follow the instructions on the PC program to complete the rest of this process.<br />
1<br />
<strong>DT</strong>-<strong>X7</strong> <strong>CI</strong><br />
20