by Athena and Bill Steen - Cohabitat
by Athena and Bill Steen - Cohabitat
by Athena and Bill Steen - Cohabitat

Create successful ePaper yourself
Turn your PDF publications into a flip-book with our unique Google optimized e-Paper software.
The second layer<br />
Optimally; the second earthen floor layer should be applied<br />
while the first layer is still damp, yet leather-hard. If the first layer<br />
dries out before applying the second layer, be sure to dampen it well<br />
before starting, <strong>and</strong> while working. If for any reason, the first layer<br />
showed any cracking, adjust the soil mixture <strong>and</strong> retest before applying<br />
the second layer<br />
The second layer of the earthen floor is applied in exactly the<br />
same manner as the first. Once the floor has hardened, but is still<br />
damp, it can be troweled, using a little water, to give a smooth, fine<br />
polish. A spray bottle works well to apply the water. Wiping the floor<br />
lightly with a wet sponge <strong>and</strong> troweling it will bring out the flecks of<br />
straw.<br />
Depending on the weather, the entire floor could dry in as short<br />
of time as a few days in drier climates or as much as several weeks in<br />
damper conditions. A fan could help speed up the drying process.<br />
AD traffic should be kept off the floor during this time.<br />
Method2<br />
This method produces a floor that is not as durable as<br />
Method /, but is easier to install.<br />
The technique<br />
It is possible to construct an earthen floor <strong>by</strong> tamping<br />
or ramming. It can also be done in multiple layers, but at greater<br />
thickness because it is done with a dry or slightly moistened<br />
mixture rather than one which is wet enough to trowel. The<br />
Initial layers of this floor need not be as finely screened as for<br />
Method 1. Soil passed through a 1/2 inch screen is more than<br />
satisfactory. Select a clay/s<strong>and</strong> mix as described earlier in the<br />
text. Prepared road base has also been used with good results.<br />
Each layer can be somewhere between 1.5 to 2 inches<br />
in depth with the total depth of the floor at 4 to 6 inches or<br />
more if conditions require it.<br />
Adding water<br />
The first layer can be applied dry <strong>and</strong> then moistened<br />
slightly with a mister on a hose or a watering can. The soil<br />
mixture should be wet enough that the clay can bind the<br />
ingredients together, but not so wet that it can't be walked<br />
upon without disturbing it. The mixture can also be lightly<br />
moistened before applying. Doing so helps ensure that the<br />
moisture is evenly distributed throughout the mix, but it is<br />
more laborious.<br />
Another option, which will help further stabilize the<br />
soil, is to add boiled linseed oil to the water at a rate of 4<br />
liters of boiled linseed oil, diluted with 2 liters of water for every<br />
100 liters of soil (<strong>by</strong> volume).<br />
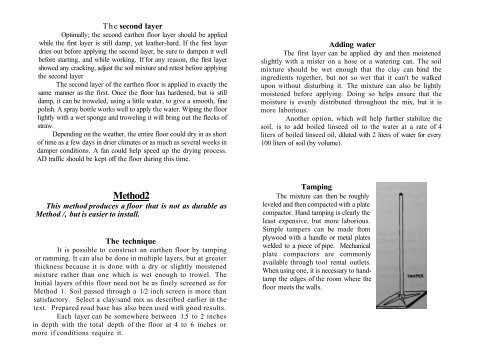
Tamping<br />
The mixture can then be roughly<br />
leveled <strong>and</strong> then compacted with a plate<br />
compactor. H<strong>and</strong> tamping is clearly the<br />
least expensive, but more laborious.<br />
Simple tampers can be made from<br />
plywood with a h<strong>and</strong>le or metal plates<br />
welded to a piece of pipe. Mechanical<br />
plate compactors are commonly<br />
available through tool rental outlets.<br />
When using one, it is necessary to h<strong>and</strong>tamp<br />
the edges of the room where the<br />
floor meets the walls.