Magellan Control Panels Installation and Operation ... - Biznine.com
Magellan Control Panels Installation and Operation ... - Biznine.com
Magellan Control Panels Installation and Operation ... - Biznine.com

You also want an ePaper? Increase the reach of your titles
YUMPU automatically turns print PDFs into web optimized ePapers that Google loves.
Navigator v.4.6.1 or higher<br />
CCS Navigator User Guide<br />
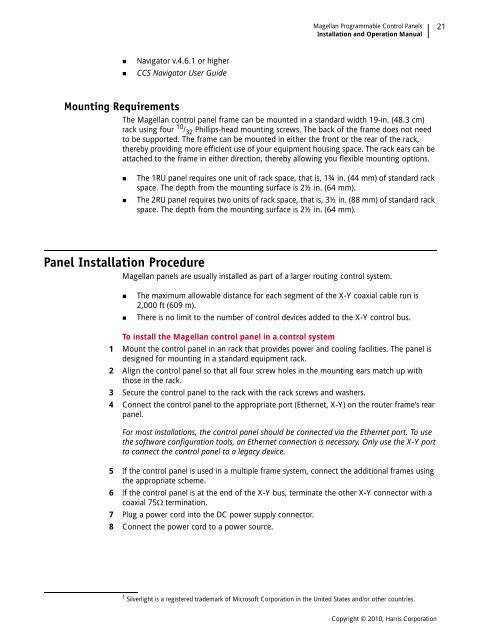
Mounting Requirements<br />
<strong>Magellan</strong> Programmable <strong>Control</strong> <strong>Panels</strong><br />
<strong>Installation</strong> <strong>and</strong> <strong>Operation</strong> Manual<br />
The <strong>Magellan</strong> control panel frame can be mounted in a st<strong>and</strong>ard width 19-in. (48.3 cm)<br />
rack using four 10 / 32 Phillips-head mounting screws. The back of the frame does not need<br />
to be supported. The frame can be mounted in either the front or the rear of the rack,<br />
thereby providing more efficient use of your equipment housing space. The rack ears can be<br />
attached to the frame in either direction, thereby allowing you flexible mounting options.<br />
The 1RU panel requires one unit of rack space, that is, 1¾ in. (44 mm) of st<strong>and</strong>ard rack<br />
space. The depth from the mounting surface is 2½ in. (64 mm).<br />
The 2RU panel requires two units of rack space, that is, 3½ in. (88 mm) of st<strong>and</strong>ard rack<br />
space. The depth from the mounting surface is 2½ in. (64 mm).<br />
Panel <strong>Installation</strong> Procedure<br />
<strong>Magellan</strong> panels are usually installed as part of a larger routing control system.<br />
The maximum allowable distance for each segment of the X-Y coaxial cable run is<br />
2,000 ft (609 m).<br />
There is no limit to the number of control devices added to the X-Y control bus.<br />
To install the <strong>Magellan</strong> control panel in a control system<br />
1 Mount the control panel in an rack that provides power <strong>and</strong> cooling facilities. The panel is<br />
designed for mounting in a st<strong>and</strong>ard equipment rack.<br />
2 Align the control panel so that all four screw holes in the mounting ears match up with<br />
those in the rack.<br />
3 Secure the control panel to the rack with the rack screws <strong>and</strong> washers.<br />
4 Connect the control panel to the appropriate port (Ethernet, X-Y) on the router frame’s rear<br />
panel.<br />
For most installations, the control panel should be connected via the Ethernet port. To use<br />
the software configuration tools, an Ethernet connection is necessary. Only use the X-Y port<br />
to connect the control panel to a legacy device.<br />
5 If the control panel is used in a multiple frame system, connect the additional frames using<br />
the appropriate scheme.<br />
6 If the control panel is at the end of the X-Y bus, terminate the other X-Y connector with a<br />
coaxial 75Ω termination.<br />
7 Plug a power cord into the DC power supply connector.<br />
8 Connect the power cord to a power source.<br />
1 Silverlight is a registered trademark of Microsoft Corporation in the United States <strong>and</strong>/or other countries.<br />
Copyright © 2010, Harris Corporation<br />
21