DMC-LS70 DMC-LS60 - Operating Manuals for Panasonic Products ...
DMC-LS70 DMC-LS60 - Operating Manuals for Panasonic Products ...
DMC-LS70 DMC-LS60 - Operating Manuals for Panasonic Products ...

Create successful ePaper yourself
Turn your PDF publications into a flip-book with our unique Google optimized e-Paper software.
Have the LCD turn off<br />
automatically.<br />
ECONOMY<br />
Battery life is saved by reducing the<br />
brightness of the LCD monitor and turning<br />
it off automatically when the camera is not<br />
being used in recording mode.<br />
q OFF: Economy mode cannot be<br />
activated.<br />
LEVEL1:The LCD monitor turns off if<br />
the camera is not operated<br />
<strong>for</strong> about 15 seconds in<br />
recording mode.<br />
LEVEL2:The LCD monitor turns off if<br />
the camera is not operated<br />
<strong>for</strong> about 15 seconds in<br />
recording mode or <strong>for</strong> about<br />
5 seconds after taking a<br />
picture.<br />
• The status indicator lights while the LCD<br />
monitor is turned off. Press any button to<br />
turn on the LCD monitor again.<br />
• Power save mode is fi xed to [2 MIN.] in<br />
economy mode.<br />
[However, power save mode is not<br />
activated when using the AC adaptor<br />
(DMW-AC6; optional).]<br />
• Economy mode is not activated in the<br />
following cases.<br />
– In simple mode [ ]<br />
– When using the AC adaptor (DMW-<br />
AC6; optional)<br />
– While a menu screen is displayed<br />
– While the self-timer is set<br />
– While recording motion pictures<br />
WORLD TIME (P57)<br />
Set date and time at your home area and<br />
the travel destination.<br />
: The local time at the travel<br />
destination<br />
q : The time at your home area<br />
22<br />
VQT1C63<br />
Preparation<br />
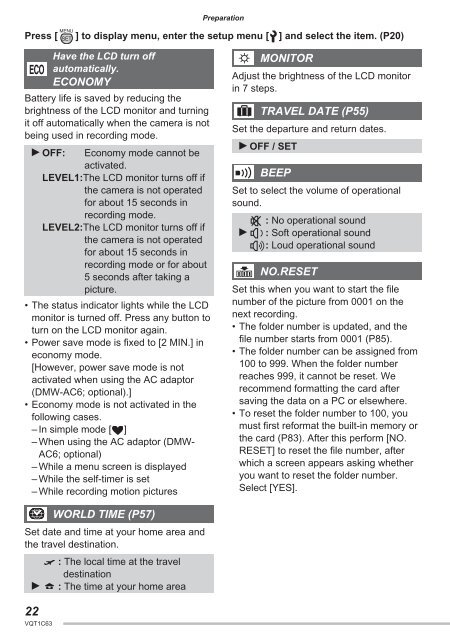
Press [ ] to display menu, enter the setup menu [ ] and select the item. (P20)<br />
MENU<br />
SET<br />
x<br />
MONITOR<br />
Adjust the brightness of the LCD monitor<br />
in 7 steps.<br />
TRAVEL DATE (P55)<br />
Set the departure and return dates.<br />
q OFF / SET<br />
6<br />
BEEP<br />
Set to select the volume of operational<br />
sound.<br />
7 : No operational sound<br />
q 8 : Soft operational sound<br />
9 : Loud operational sound<br />
2<br />
NO.RESET<br />
Set this when you want to start the fi le<br />
number of the picture from 0001 on the<br />
next recording.<br />
• The folder number is updated, and the<br />
fi le number starts from 0001 (P85).<br />
• The folder number can be assigned from<br />
100 to 999. When the folder number<br />
reaches 999, it cannot be reset. We<br />
recommend <strong>for</strong>matting the card after<br />
saving the data on a PC or elsewhere.<br />
• To reset the folder number to 100, you<br />
must fi rst re<strong>for</strong>mat the built-in memory or<br />
the card (P83). After this per<strong>for</strong>m [NO.<br />
RESET] to reset the fi le number, after<br />
which a screen appears asking whether<br />
you want to reset the folder number.<br />
Select [YES].