
You also want an ePaper? Increase the reach of your titles
YUMPU automatically turns print PDFs into web optimized ePapers that Google loves.
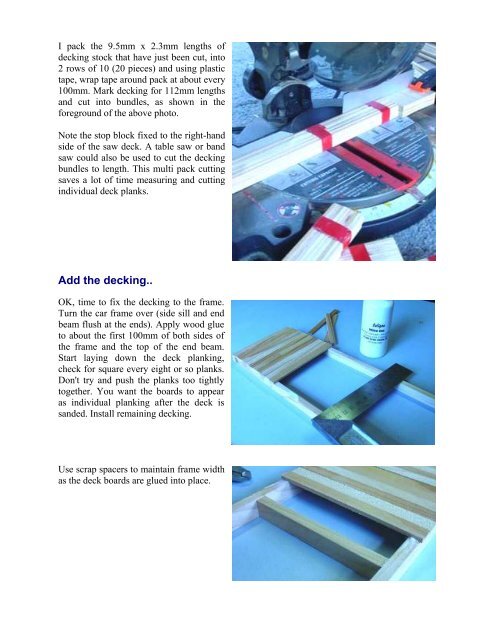
I pack the 9.5mm x 2.3mm lengths of<br />
decking stock that have just been cut, into<br />
2 rows of 10 (20 pieces) and using plastic<br />
tape, wrap tape around pack at about every<br />
100mm. Mark decking for 112mm lengths<br />
and cut into bundles, as shown in the<br />
foreground of the above photo.<br />
Note the stop block fixed to the right-hand<br />
side of the saw deck. A table saw or band<br />
saw could also be used to cut the decking<br />
bundles to length. This multi pack cutting<br />
saves a lot of time measuring and cutting<br />
individual deck planks.<br />
Add the decking..<br />
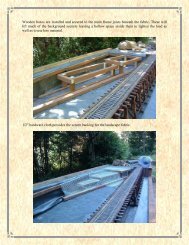
OK, time to fix the decking to the frame.<br />
Turn the car frame over (side sill and end<br />
beam flush at the ends). Apply wood glue<br />
to about the first 100mm of both sides of<br />
the frame and the top of the end beam.<br />
Start laying down the deck planking,<br />
check for square every eight or so planks.<br />
Don't try and push the planks too tightly<br />
together. You want the boards to appear<br />
as individual planking after the deck is<br />
sanded. Install remaining decking.<br />
Use scrap spacers to maintain frame width<br />
as the deck boards are glued into place.