POWER-MASTER 500 - Victor Technologies
POWER-MASTER 500 - Victor Technologies
POWER-MASTER 500 - Victor Technologies
You also want an ePaper? Increase the reach of your titles
YUMPU automatically turns print PDFs into web optimized ePapers that Google loves.
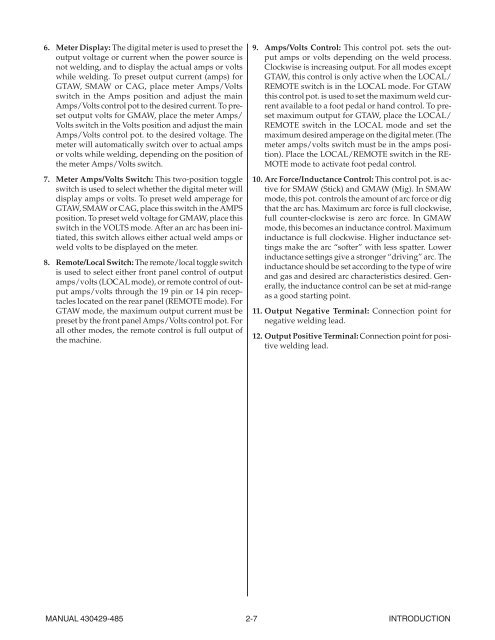
6. Meter Display: The digital meter is used to preset the<br />
output voltage or current when the power source is<br />
not welding, and to display the actual amps or volts<br />
while welding. To preset output current (amps) for<br />
GTAW, SMAW or CAG, place meter Amps/Volts<br />
switch in the Amps position and adjust the main<br />
Amps/Volts control pot to the desired current. To preset<br />
output volts for GMAW, place the meter Amps/<br />
Volts switch in the Volts position and adjust the main<br />
Amps/Volts control pot. to the desired voltage. The<br />
meter will automatically switch over to actual amps<br />
or volts while welding, depending on the position of<br />
the meter Amps/Volts switch.<br />
7. Meter Amps/Volts Switch: This two-position toggle<br />
switch is used to select whether the digital meter will<br />
display amps or volts. To preset weld amperage for<br />
GTAW, SMAW or CAG, place this switch in the AMPS<br />
position. To preset weld voltage for GMAW, place this<br />
switch in the VOLTS mode. After an arc has been initiated,<br />
this switch allows either actual weld amps or<br />
weld volts to be displayed on the meter.<br />
8. Remote/Local Switch: The remote/local toggle switch<br />
is used to select either front panel control of output<br />
amps/volts (LOCAL mode), or remote control of output<br />
amps/volts through the 19 pin or 14 pin receptacles<br />
located on the rear panel (REMOTE mode). For<br />
GTAW mode, the maximum output current must be<br />
preset by the front panel Amps/Volts control pot. For<br />
all other modes, the remote control is full output of<br />
the machine.<br />
9. Amps/Volts Control: This control pot. sets the output<br />
amps or volts depending on the weld process.<br />
Clockwise is increasing output. For all modes except<br />
GTAW, this control is only active when the LOCAL/<br />
REMOTE switch is in the LOCAL mode. For GTAW<br />
this control pot. is used to set the maximum weld current<br />
available to a foot pedal or hand control. To preset<br />
maximum output for GTAW, place the LOCAL/<br />
REMOTE switch in the LOCAL mode and set the<br />
maximum desired amperage on the digital meter. (The<br />
meter amps/volts switch must be in the amps position).<br />
Place the LOCAL/REMOTE switch in the RE-<br />
MOTE mode to activate foot pedal control.<br />
10. Arc Force/Inductance Control: This control pot. is active<br />
for SMAW (Stick) and GMAW (Mig). In SMAW<br />
mode, this pot. controls the amount of arc force or dig<br />
that the arc has. Maximum arc force is full clockwise,<br />
full counter-clockwise is zero arc force. In GMAW<br />
mode, this becomes an inductance control. Maximum<br />
inductance is full clockwise. Higher inductance settings<br />
make the arc “softer” with less spatter. Lower<br />
inductance settings give a stronger “driving” arc. The<br />
inductance should be set according to the type of wire<br />
and gas and desired arc characteristics desired. Generally,<br />
the inductance control can be set at mid-range<br />
as a good starting point.<br />
11. Output Negative Terminal: Connection point for<br />
negative welding lead.<br />
12. Output Positive Terminal: Connection point for positive<br />
welding lead.<br />
MANUAL 430429-485 2-7 INTRODUCTION


