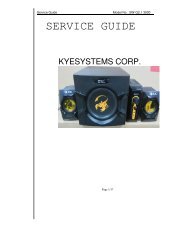
HR6 Series.pdf - Genius
HR6 Series.pdf - Genius
HR6 Series.pdf - Genius

You also want an ePaper? Increase the reach of your titles
YUMPU automatically turns print PDFs into web optimized ePapers that Google loves.
Service<br />
Guide<br />
ColorPage-<strong>HR6</strong>/<strong>HR6</strong> V2/<strong>HR6</strong>X series<br />
3<br />
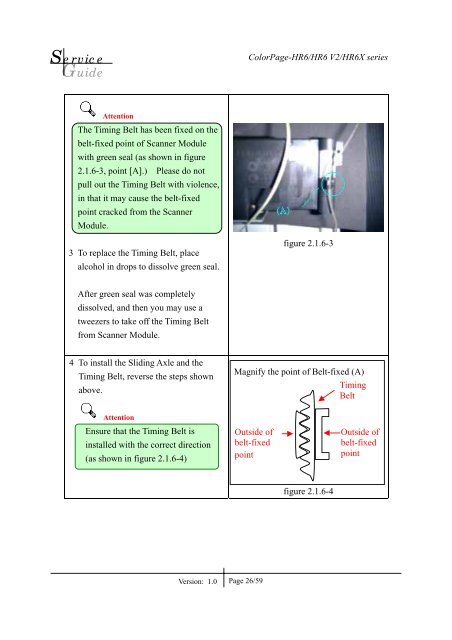
Attention<br />
The Timing Belt has been fixed on the<br />
belt-fixed point of Scanner Module<br />
with green seal (as shown in figure<br />
2.1.6-3, point [A].) Please do not<br />
pull out the Timing Belt with violence,<br />
in that it may cause the belt-fixed<br />
point cracked from the Scanner<br />
Module.<br />
To replace the Timing Belt, place<br />
alcohol in drops to dissolve green seal.<br />
figure 2.1.6-3<br />
After green seal was completely<br />
dissolved, and then you may use a<br />
tweezers to take off the Timing Belt<br />
from Scanner Module.<br />
4 To install the Sliding Axle and the<br />
Timing Belt, reverse the steps shown<br />
above.<br />
Magnify the point of Belt-fixed (A)<br />
Timing<br />
Belt<br />
Attention<br />
Ensure that the Timing Belt is<br />
installed with the correct direction<br />
(as shown in figure 2.1.6-4)<br />
Outside of<br />
belt-fixed<br />
point<br />
Outside of<br />
belt-fixed<br />
point<br />
figure 2.1.6-4<br />
Version: 1.0<br />
Page 26/59