PowerLinx Multi-channel Sound Reinforcement Systems - Tannoy
PowerLinx Multi-channel Sound Reinforcement Systems - Tannoy
PowerLinx Multi-channel Sound Reinforcement Systems - Tannoy

Create successful ePaper yourself
Turn your PDF publications into a flip-book with our unique Google optimized e-Paper software.
POWERLINX PLC4.1 CONTROLLER<br />
{<br />
8<br />
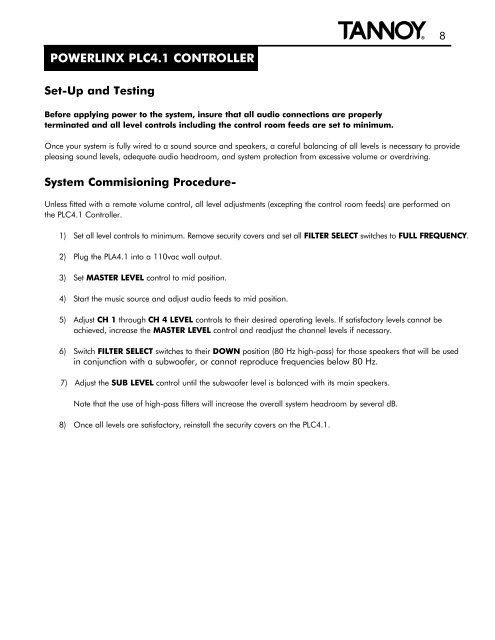
Set-Up and Testing<br />
Before applying power to the system, insure that all audio connections are properly<br />
terminated and all level controls including the control room feeds are set to minimum.<br />
Once your system is fully wired to a sound source and speakers, a careful balancing of all levels is necessary to provide<br />
pleasing sound levels, adequate audio headroom, and system protection from excessive volume or overdriving.<br />
System Commisioning Procedure-<br />
Unless fitted with a remote volume control, all level adjustments (excepting the control room feeds) are performed on<br />
the PLC4.1 Controller.<br />
1) Set all level controls to minimum. Remove security covers and set all FILTER SELECT switches to FULL FREQUENCY.<br />
2) Plug the PLA4.1 into a 110vac wall output.<br />
3) Set MASTER LEVEL control to mid position.<br />
4) Start the music source and adjust audio feeds to mid position.<br />
5) Adjust CH 1 through CH 4 LEVEL controls to their desired operating levels. If satisfactory levels cannot be<br />
achieved, increase the MASTER LEVEL control and readjust the <strong>channel</strong> levels if necessary.<br />
6) Switch FILTER SELECT switches to their DOWN position (80 Hz high-pass) for those speakers that will be used<br />
in conjunction with a subwoofer, or cannot reproduce frequencies below 80 Hz.<br />
7) Adjust the SUB LEVEL control until the subwoofer level is balanced with its main speakers.<br />
Note that the use of high-pass filters will increase the overall system headroom by several dB.<br />
8) Once all levels are satisfactory, reinstall the security covers on the PLC4.1.