ZonePRO Install Guide-English - dbx
ZonePRO Install Guide-English - dbx
ZonePRO Install Guide-English - dbx
You also want an ePaper? Increase the reach of your titles
YUMPU automatically turns print PDFs into web optimized ePapers that Google loves.
<strong>ZonePRO</strong> TM<br />
Networking<br />
Section 6<br />
6.7 Proxy<br />
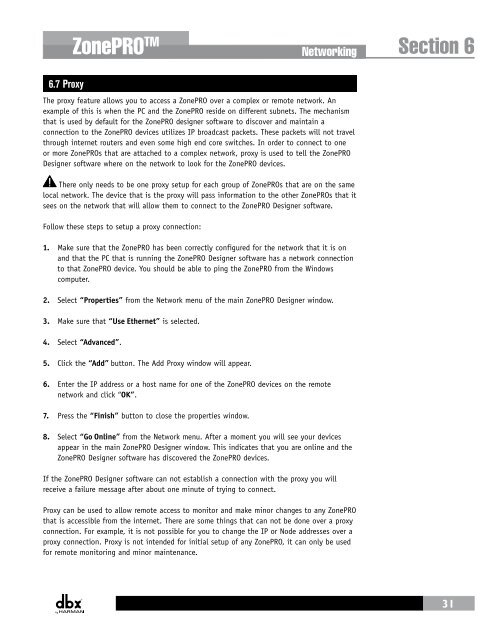
The proxy feature allows you to access a <strong>ZonePRO</strong> over a complex or remote network. An<br />
example of this is when the PC and the <strong>ZonePRO</strong> reside on different subnets. The mechanism<br />
that is used by default for the <strong>ZonePRO</strong> designer software to discover and maintain a<br />
connection to the <strong>ZonePRO</strong> devices utilizes IP broadcast packets. These packets will not travel<br />
through internet routers and even some high end core switches. In order to connect to one<br />
or more <strong>ZonePRO</strong>s that are attached to a complex network, proxy is used to tell the <strong>ZonePRO</strong><br />
Designer software where on the network to look for the <strong>ZonePRO</strong> devices.<br />
There only needs to be one proxy setup for each group of <strong>ZonePRO</strong>s that are on the same<br />
local network. The device that is the proxy will pass information to the other <strong>ZonePRO</strong>s that it<br />
sees on the network that will allow them to connect to the <strong>ZonePRO</strong> Designer software.<br />
Follow these steps to setup a proxy connection:<br />
1. Make sure that the <strong>ZonePRO</strong> has been correctly configured for the network that it is on<br />
and that the PC that is running the <strong>ZonePRO</strong> Designer software has a network connection<br />
to that <strong>ZonePRO</strong> device. You should be able to ping the <strong>ZonePRO</strong> from the Windows<br />
computer.<br />
2. Select “Properties” from the Network menu of the main <strong>ZonePRO</strong> Designer window.<br />
3. Make sure that “Use Ethernet” is selected.<br />
4. Select “Advanced”.<br />
5. Click the “Add” button. The Add Proxy window will appear.<br />
6. Enter the IP address or a host name for one of the <strong>ZonePRO</strong> devices on the remote<br />
network and click “OK”.<br />
7. Press the “Finish” button to close the properties window.<br />
8. Select “Go Online” from the Network menu. After a moment you will see your devices<br />
appear in the main <strong>ZonePRO</strong> Designer window. This indicates that you are online and the<br />
<strong>ZonePRO</strong> Designer software has discovered the <strong>ZonePRO</strong> devices.<br />
If the <strong>ZonePRO</strong> Designer software can not establish a connection with the proxy you will<br />
receive a failure message after about one minute of trying to connect.<br />
Proxy can be used to allow remote access to monitor and make minor changes to any <strong>ZonePRO</strong><br />
that is accessible from the internet. There are some things that can not be done over a proxy<br />
connection. For example, it is not possible for you to change the IP or Node addresses over a<br />
proxy connection. Proxy is not intended for initial setup of any <strong>ZonePRO</strong>, it can only be used<br />
for remote monitoring and minor maintenance.<br />
31


