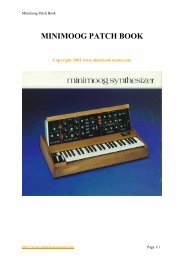
minimoog owners manual.pdf - Synth Zone
minimoog owners manual.pdf - Synth Zone
minimoog owners manual.pdf - Synth Zone

Create successful ePaper yourself
Turn your PDF publications into a flip-book with our unique Google optimized e-Paper software.
Minimoog Operation Manual<br />
There are two other types of signals which are not heard directly as sound, but<br />
instead are used to influence the way in which the generating and modifying circuitry<br />
performs:<br />
CONTROL signals are used to change the pitches of the oscillators, the<br />
characteristics of the filter, and the amount of amplification by the amplifier. These<br />
control signals are responsible for all of the musically significant changes and<br />
contours in the musical sounds produced by the Mini Moog.<br />
TIMING signals come from the keyboard (or from an external source) and are used to<br />
trigger, or start off, the contours which open and close the filter and amplifier. A<br />
timing signal begins whenever a key on the keyboard is depressed, and stops when<br />
all keys are released. Timing signals are used to initiate and terminate musical<br />
sounds, whereas control signals are used to shape and change these sounds while<br />
they occur.<br />
setting up the instrument<br />
Place the instrument at a convenient level for playing and secure the Front Panel in<br />
the "up" position by means of the metal bracket underneath.<br />
1. Set all switches in the off position (left-hand or bottom half depressed).<br />
2. Referring to Fig. 1, below, set all of the control knobs as indicated.<br />
3. Plug the power cord into any conventional 117 Volt A.C. outlet.<br />
4. Two 6' patch-cords are supplied with the Mini Moog. If you are using a portable,<br />
guitar-type amplifier, run the cord with the phone plug at each end from the LOW<br />
level MAIN OUTPUT jack on the rear connector strip of the Mini Moog to an input on<br />
your amplifier. If you are using a monitor amplifier, you will need to use the other<br />
cord. Plug the phone plug end into the HIGH level MAIN OUTPUT jack of the<br />
synthesizer, and run the small phono-plug at the other end into the high level input of<br />
the monitor amplifier (or into the line level input of a tape recorder).<br />
The following sections of this guide will be devoted to a systematic description of<br />
individual control functions in relation to the synthesizer's component circuits.<br />
http://www.oldschool-sound.com Page 3