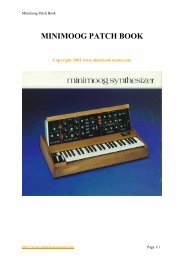
minimoog owners manual.pdf - Synth Zone
minimoog owners manual.pdf - Synth Zone
minimoog owners manual.pdf - Synth Zone

Create successful ePaper yourself
Turn your PDF publications into a flip-book with our unique Google optimized e-Paper software.
Minimoog Operation Manual<br />
output section<br />
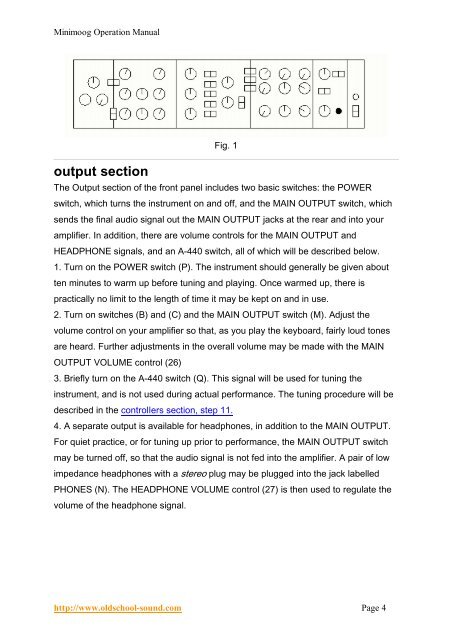
Fig. 1<br />
The Output section of the front panel includes two basic switches: the POWER<br />
switch, which turns the instrument on and off, and the MAIN OUTPUT switch, which<br />
sends the final audio signal out the MAIN OUTPUT jacks at the rear and into your<br />
amplifier. In addition, there are volume controls for the MAIN OUTPUT and<br />
HEADPHONE signals, and an A-440 switch, all of which will be described below.<br />
1. Turn on the POWER switch (P). The instrument should generally be given about<br />
ten minutes to warm up before tuning and playing. Once warmed up, there is<br />
practically no limit to the length of time it may be kept on and in use.<br />
2. Turn on switches (B) and (C) and the MAIN OUTPUT switch (M). Adjust the<br />
volume control on your amplifier so that, as you play the keyboard, fairly loud tones<br />
are heard. Further adjustments in the overall volume may be made with the MAIN<br />
OUTPUT VOLUME control (26)<br />
3. Briefly turn on the A-440 switch (Q). This signal will be used for tuning the<br />
instrument, and is not used during actual performance. The tuning procedure will be<br />
described in the controllers section, step 11.<br />
4. A separate output is available for headphones, in addition to the MAIN OUTPUT.<br />
For quiet practice, or for tuning up prior to performance, the MAIN OUTPUT switch<br />
may be turned off, so that the audio signal is not fed into the amplifier. A pair of low<br />
impedance headphones with a stereo plug may be plugged into the jack labelled<br />
PHONES (N). The HEADPHONE VOLUME control (27) is then used to regulate the<br />
volume of the headphone signal.<br />
http://www.oldschool-sound.com Page 4