Blast Chiller 4-9-07 - Master-Bilt
Blast Chiller 4-9-07 - Master-Bilt
Blast Chiller 4-9-07 - Master-Bilt

You also want an ePaper? Increase the reach of your titles
YUMPU automatically turns print PDFs into web optimized ePapers that Google loves.
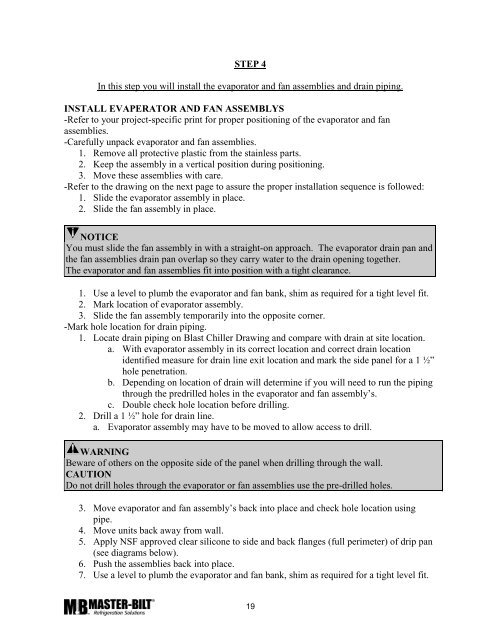
STEP 4<br />
In this step you will install the evaporator and fan assemblies and drain piping.<br />
INSTALL EVAPERATOR AND FAN ASSEMBLYS<br />
-Refer to your project-specific print for proper positioning of the evaporator and fan<br />
assemblies.<br />
-Carefully unpack evaporator and fan assemblies.<br />
1. Remove all protective plastic from the stainless parts.<br />
2. Keep the assembly in a vertical position during positioning.<br />
3. Move these assemblies with care.<br />
-Refer to the drawing on the next page to assure the proper installation sequence is followed:<br />
1. Slide the evaporator assembly in place.<br />
2. Slide the fan assembly in place.<br />
NOTICE<br />
You must slide the fan assembly in with a straight-on approach. The evaporator drain pan and<br />
the fan assemblies drain pan overlap so they carry water to the drain opening together.<br />
The evaporator and fan assemblies fit into position with a tight clearance.<br />
1. Use a level to plumb the evaporator and fan bank, shim as required for a tight level fit.<br />
2. Mark location of evaporator assembly.<br />
3. Slide the fan assembly temporarily into the opposite corner.<br />
-Mark hole location for drain piping.<br />
1. Locate drain piping on <strong>Blast</strong> <strong>Chiller</strong> Drawing and compare with drain at site location.<br />
a. With evaporator assembly in its correct location and correct drain location<br />
identified measure for drain line exit location and mark the side panel for a 1 ½”<br />
hole penetration.<br />
b. Depending on location of drain will determine if you will need to run the piping<br />
through the predrilled holes in the evaporator and fan assembly’s.<br />
c. Double check hole location before drilling.<br />
2. Drill a 1 ½” hole for drain line.<br />
a. Evaporator assembly may have to be moved to allow access to drill.<br />
WARNING<br />
Beware of others on the opposite side of the panel when drilling through the wall.<br />
CAUTION<br />
Do not drill holes through the evaporator or fan assemblies use the pre-drilled holes.<br />
3. Move evaporator and fan assembly’s back into place and check hole location using<br />
pipe.<br />
4. Move units back away from wall.<br />
5. Apply NSF approved clear silicone to side and back flanges (full perimeter) of drip pan<br />
(see diagrams below).<br />
6. Push the assemblies back into place.<br />
7. Use a level to plumb the evaporator and fan bank, shim as required for a tight level fit.<br />
19