Blast Chiller 4-9-07 - Master-Bilt
Blast Chiller 4-9-07 - Master-Bilt
Blast Chiller 4-9-07 - Master-Bilt

Create successful ePaper yourself
Turn your PDF publications into a flip-book with our unique Google optimized e-Paper software.
ABOUT THIS MANUAL<br />
Please read this entire installation manual before you install your <strong>Master</strong>-<strong>Bilt</strong> <strong>Blast</strong><br />
<strong>Chiller</strong>. It provides information on installation and operation of the <strong>Blast</strong> <strong>Chiller</strong>. It is<br />
very important that you complete each step of installation in the order that the steps<br />
appear in the installation sections of this manual. Otherwise, you may find yourself<br />
unnecessarily disassembling and re-assembling parts.<br />
The information and graphics in this manual are common to installation of all <strong>Master</strong>-<br />
<strong>Bilt</strong> <strong>Blast</strong> <strong>Chiller</strong>s. A customized print is provided specific to your order. Your print<br />
provides information specific to your design and installation. This manual indicates<br />
when you should refer to your site-specific drawings.<br />
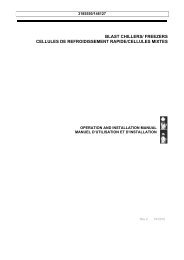
BLAST CHILLER MODELS<br />
-All <strong>Blast</strong> <strong>Chiller</strong> electrical connections should be made per the wiring diagrams found in<br />
this manual for the electrical box and control panel.<br />
-All <strong>Blast</strong> <strong>Chiller</strong> refrigeration connections should be made per the attached refrigeration<br />
diagrams and charts found in this manual according to the correct model. Refer to the<br />
correct air or water-cooled schematic per the condensing unit markings and labels.<br />
-All <strong>Blast</strong> <strong>Chiller</strong>s accept the same size rack.<br />
5