Blast Chiller 4-9-07 - Master-Bilt
Blast Chiller 4-9-07 - Master-Bilt
Blast Chiller 4-9-07 - Master-Bilt

Create successful ePaper yourself
Turn your PDF publications into a flip-book with our unique Google optimized e-Paper software.
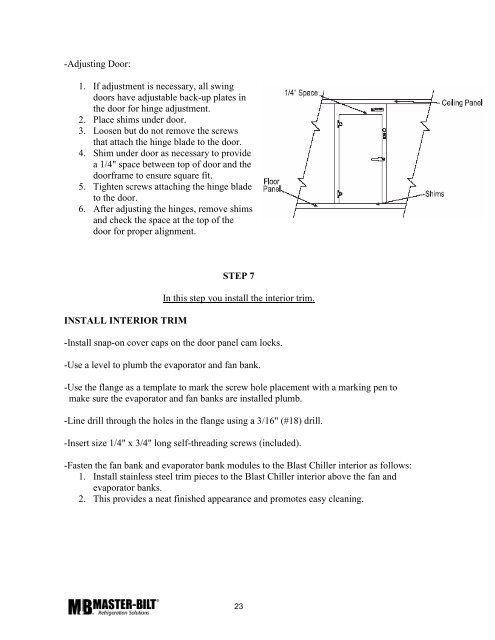
-Adjusting Door:<br />
1. If adjustment is necessary, all swing<br />
doors have adjustable back-up plates in<br />
the door for hinge adjustment.<br />
2. Place shims under door.<br />
3. Loosen but do not remove the screws<br />
that attach the hinge blade to the door.<br />
4. Shim under door as necessary to provide<br />
a 1/4" space between top of door and the<br />
doorframe to ensure square fit.<br />
5. Tighten screws attaching the hinge blade<br />
to the door.<br />
6. After adjusting the hinges, remove shims<br />
and check the space at the top of the<br />
door for proper alignment.<br />
INSTALL INTERIOR TRIM<br />
STEP 7<br />
In this step you install the interior trim.<br />
-Install snap-on cover caps on the door panel cam locks.<br />
-Use a level to plumb the evaporator and fan bank.<br />
-Use the flange as a template to mark the screw hole placement with a marking pen to<br />
make sure the evaporator and fan banks are installed plumb.<br />
-Line drill through the holes in the flange using a 3/16" (#18) drill.<br />
-Insert size 1/4" x 3/4" long self-threading screws (included).<br />
-Fasten the fan bank and evaporator bank modules to the <strong>Blast</strong> <strong>Chiller</strong> interior as follows:<br />
1. Install stainless steel trim pieces to the <strong>Blast</strong> <strong>Chiller</strong> interior above the fan and<br />
evaporator banks.<br />
2. This provides a neat finished appearance and promotes easy cleaning.<br />
23