Blast Chiller 4-9-07 - Master-Bilt
Blast Chiller 4-9-07 - Master-Bilt
Blast Chiller 4-9-07 - Master-Bilt

Create successful ePaper yourself
Turn your PDF publications into a flip-book with our unique Google optimized e-Paper software.
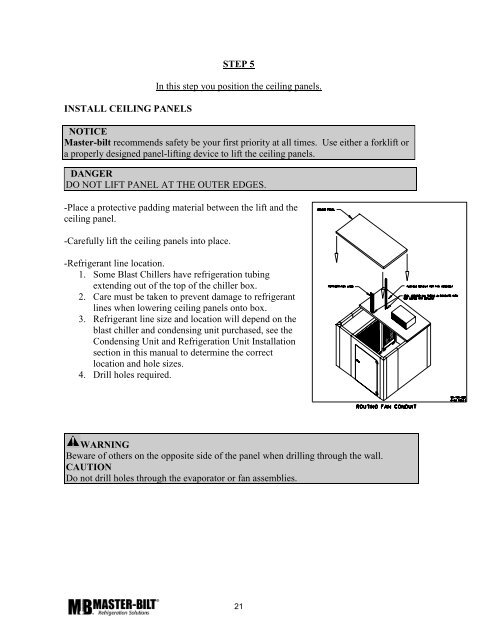
INSTALL CEILING PANELS<br />
STEP 5<br />
In this step you position the ceiling panels.<br />
NOTICE<br />
<strong>Master</strong>-bilt recommends safety be your first priority at all times. Use either a forklift or<br />
a properly designed panel-lifting device to lift the ceiling panels.<br />
DANGER<br />
DO NOT LIFT PANEL AT THE OUTER EDGES.<br />
-Place a protective padding material between the lift and the<br />
ceiling panel.<br />
-Carefully lift the ceiling panels into place.<br />
-Refrigerant line location.<br />
1. Some <strong>Blast</strong> <strong>Chiller</strong>s have refrigeration tubing<br />
extending out of the top of the chiller box.<br />
2. Care must be taken to prevent damage to refrigerant<br />
lines when lowering ceiling panels onto box.<br />
3. Refrigerant line size and location will depend on the<br />
blast chiller and condensing unit purchased, see the<br />
Condensing Unit and Refrigeration Unit Installation<br />
section in this manual to determine the correct<br />
location and hole sizes.<br />
4. Drill holes required.<br />
WARNING<br />
Beware of others on the opposite side of the panel when drilling through the wall.<br />
CAUTION<br />
Do not drill holes through the evaporator or fan assemblies.<br />
21