Onyx-RAD Chiropractic Tools Step by Step Guide - Viztek
Onyx-RAD Chiropractic Tools Step by Step Guide - Viztek
Onyx-RAD Chiropractic Tools Step by Step Guide - Viztek
You also want an ePaper? Increase the reach of your titles
YUMPU automatically turns print PDFs into web optimized ePapers that Google loves.
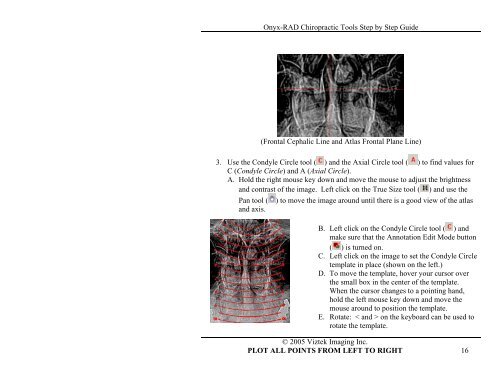
<strong>Onyx</strong>-<strong>RAD</strong> <strong>Chiropractic</strong> <strong>Tools</strong> <strong>Step</strong> <strong>by</strong> <strong>Step</strong> <strong>Guide</strong><br />
(Frontal Cephalic Line and Atlas Frontal Plane Line)<br />
3. Use the Condyle Circle tool ( ) and the Axial Circle tool ( ) to find values for<br />
C (Condyle Circle) and A (Axial Circle).<br />
A. Hold the right mouse key down and move the mouse to adjust the brightness<br />
and contrast of the image. Left click on the True Size tool ( ) and use the<br />
Pan tool (<br />
and axis.<br />
) to move the image around until there is a good view of the atlas<br />
B. Left click on the Condyle Circle tool ( ) and<br />
make sure that the Annotation Edit Mode button<br />
( ) is turned on.<br />
C. Left click on the image to set the Condyle Circle<br />
template in place (shown on the left.)<br />
D. To move the template, hover your cursor over<br />
the small box in the center of the template.<br />
When the cursor changes to a pointing hand,<br />
hold the left mouse key down and move the<br />
mouse around to position the template.<br />
E. Rotate: < and > on the keyboard can be used to<br />
rotate the template.<br />
© 2005 <strong>Viztek</strong> Imaging Inc.<br />
PLOT ALL POINTS FROM LEFT TO RIGHT 16


