

HARMON ROCKET III - Green Hobby & Model
HARMON ROCKET III - Green Hobby & Model
HARMON ROCKET III - Green Hobby & Model

Create successful ePaper yourself
Turn your PDF publications into a flip-book with our unique Google optimized e-Paper software.
<strong>HARMON</strong> <strong>ROCKET</strong> <strong>III</strong>. Instruction Manual.<br />
ELEVATOR - RUDDER SERVO<br />
INSTALLATION.<br />
! 1) Locate and cut out the covering film<br />
from the servo holes in both sides of fuselage.<br />
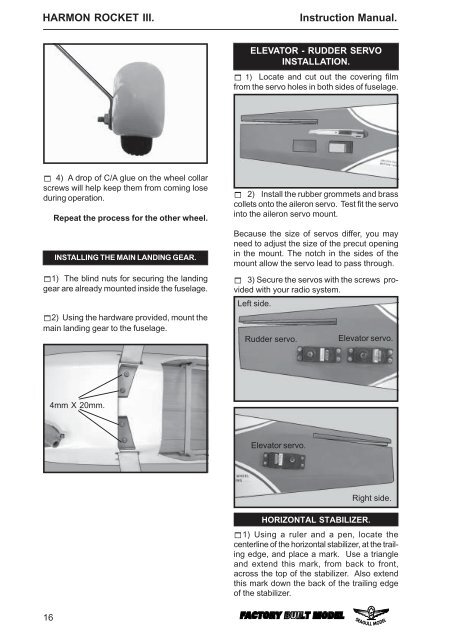
! 4) A drop of C/A glue on the wheel collar<br />
screws will help keep them from coming lose<br />
during operation.<br />
Repeat the process for the other wheel.<br />
INSTALLING THE MAIN LANDING GEAR.<br />
!1) The blind nuts for securing the landing<br />
gear are already mounted inside the fuselage.<br />
!2) Using the hardware provided, mount the<br />
main landing gear to the fuselage.<br />
! 2) Install the rubber grommets and brass<br />
collets onto the aileron servo. Test fit the servo<br />
into the aileron servo mount.<br />
Because the size of servos differ, you may<br />
need to adjust the size of the precut opening<br />
in the mount. The notch in the sides of the<br />
mount allow the servo lead to pass through.<br />
! 3) Secure the servos with the screws provided<br />
with your radio system.<br />
Left side.<br />
Rudder servo.<br />
Elevator servo.<br />
4mm X 20mm.<br />
Elevator servo.<br />
Right side.<br />
HORIZONTAL STABILIZER.<br />
!1) Using a ruler and a pen, locate the<br />
centerline of the horizontal stabilizer, at the trailing<br />
edge, and place a mark. Use a triangle<br />
and extend this mark, from back to front,<br />
across the top of the stabilizer. Also extend<br />
this mark down the back of the trailing edge<br />
of the stabilizer.<br />
16


