HP LaserJet 1022 Series Service Manual
HP LaserJet 1022 Series Service Manual
HP LaserJet 1022 Series Service Manual

Create successful ePaper yourself
Turn your PDF publications into a flip-book with our unique Google optimized e-Paper software.
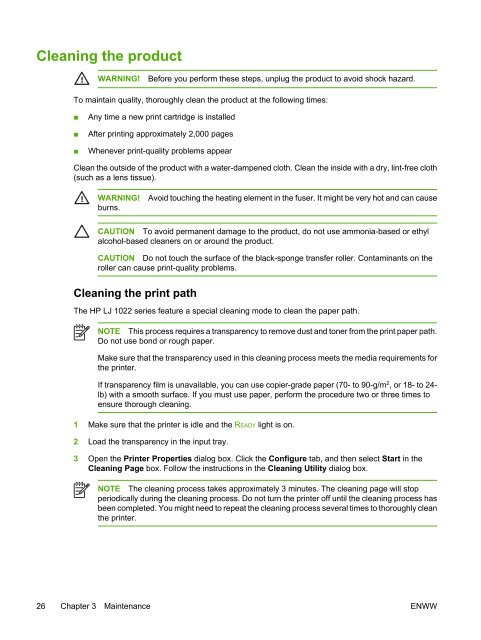
Cleaning the product<br />
WARNING!<br />
Before you perform these steps, unplug the product to avoid shock hazard.<br />
To maintain quality, thoroughly clean the product at the following times:<br />
■<br />
■<br />
■<br />
Any time a new print cartridge is installed<br />
After printing approximately 2,000 pages<br />
Whenever print-quality problems appear<br />
Clean the outside of the product with a water-dampened cloth. Clean the inside with a dry, lint-free cloth<br />
(such as a lens tissue).<br />
WARNING!<br />
burns.<br />
Avoid touching the heating element in the fuser. It might be very hot and can cause<br />
CAUTION To avoid permanent damage to the product, do not use ammonia-based or ethyl<br />
alcohol-based cleaners on or around the product.<br />
CAUTION Do not touch the surface of the black-sponge transfer roller. Contaminants on the<br />
roller can cause print-quality problems.<br />
Cleaning the print path<br />
The <strong>HP</strong> LJ <strong>1022</strong> series feature a special cleaning mode to clean the paper path.<br />
NOTE This process requires a transparency to remove dust and toner from the print paper path.<br />
Do not use bond or rough paper.<br />
Make sure that the transparency used in this cleaning process meets the media requirements for<br />
the printer.<br />
If transparency film is unavailable, you can use copier-grade paper (70- to 90-g/m 2 , or 18- to 24-<br />
lb) with a smooth surface. If you must use paper, perform the procedure two or three times to<br />
ensure thorough cleaning.<br />
1 Make sure that the printer is idle and the READY light is on.<br />
2 Load the transparency in the input tray.<br />
3 Open the Printer Properties dialog box. Click the Configure tab, and then select Start in the<br />
Cleaning Page box. Follow the instructions in the Cleaning Utility dialog box.<br />
NOTE The cleaning process takes approximately 3 minutes. The cleaning page will stop<br />
periodically during the cleaning process. Do not turn the printer off until the cleaning process has<br />
been completed. You might need to repeat the cleaning process several times to thoroughly clean<br />
the printer.<br />
26 Chapter 3 Maintenance ENWW