SonicOS 5.8.1.13 Release Notes - SonicWALL
SonicOS 5.8.1.13 Release Notes - SonicWALL
SonicOS 5.8.1.13 Release Notes - SonicWALL
Create successful ePaper yourself
Turn your PDF publications into a flip-book with our unique Google optimized e-Paper software.
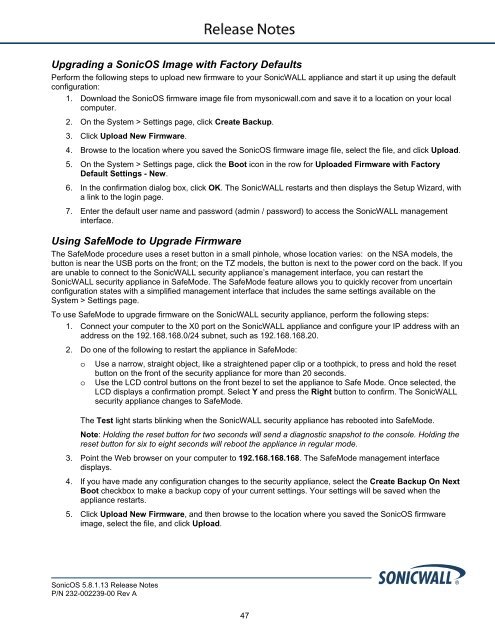
Upgrading a <strong>SonicOS</strong> Image with Factory Defaults<br />
Perform the following steps to upload new firmware to your <strong>SonicWALL</strong> appliance and start it up using the default<br />
configuration:<br />
1. Download the <strong>SonicOS</strong> firmware image file from mysonicwall.com and save it to a location on your local<br />
computer.<br />
2. On the System > Settings page, click Create Backup.<br />
3. Click Upload New Firmware.<br />
4. Browse to the location where you saved the <strong>SonicOS</strong> firmware image file, select the file, and click Upload.<br />
5. On the System > Settings page, click the Boot icon in the row for Uploaded Firmware with Factory<br />
Default Settings - New.<br />
6. In the confirmation dialog box, click OK. The <strong>SonicWALL</strong> restarts and then displays the Setup Wizard, with<br />
a link to the login page.<br />
7. Enter the default user name and password (admin / password) to access the <strong>SonicWALL</strong> management<br />
interface.<br />
Using SafeMode to Upgrade Firmware<br />
The SafeMode procedure uses a reset button in a small pinhole, whose location varies: on the NSA models, the<br />
button is near the USB ports on the front; on the TZ models, the button is next to the power cord on the back. If you<br />
are unable to connect to the <strong>SonicWALL</strong> security appliance’s management interface, you can restart the<br />
<strong>SonicWALL</strong> security appliance in SafeMode. The SafeMode feature allows you to quickly recover from uncertain<br />
configuration states with a simplified management interface that includes the same settings available on the<br />
System > Settings page.<br />
To use SafeMode to upgrade firmware on the <strong>SonicWALL</strong> security appliance, perform the following steps:<br />
1. Connect your computer to the X0 port on the <strong>SonicWALL</strong> appliance and configure your IP address with an<br />
address on the 192.168.168.0/24 subnet, such as 192.168.168.20.<br />
2. Do one of the following to restart the appliance in SafeMode:<br />
o<br />
o<br />
Use a narrow, straight object, like a straightened paper clip or a toothpick, to press and hold the reset<br />
button on the front of the security appliance for more than 20 seconds.<br />
Use the LCD control buttons on the front bezel to set the appliance to Safe Mode. Once selected, the<br />
LCD displays a confirmation prompt. Select Y and press the Right button to confirm. The <strong>SonicWALL</strong><br />
security appliance changes to SafeMode.<br />
The Test light starts blinking when the <strong>SonicWALL</strong> security appliance has rebooted into SafeMode.<br />
Note: Holding the reset button for two seconds will send a diagnostic snapshot to the console. Holding the<br />
reset button for six to eight seconds will reboot the appliance in regular mode.<br />
3. Point the Web browser on your computer to 192.168.168.168. The SafeMode management interface<br />
displays.<br />
4. If you have made any configuration changes to the security appliance, select the Create Backup On Next<br />
Boot checkbox to make a backup copy of your current settings. Your settings will be saved when the<br />
appliance restarts.<br />
5. Click Upload New Firmware, and then browse to the location where you saved the <strong>SonicOS</strong> firmware<br />
image, select the file, and click Upload.<br />
<strong>SonicOS</strong> <strong>5.8.1.13</strong> <strong>Release</strong> <strong>Notes</strong><br />
P/N 232-002239-00 Rev A<br />
47


