Programming the Receiver - Radix
Programming the Receiver - Radix
Programming the Receiver - Radix
You also want an ePaper? Increase the reach of your titles
YUMPU automatically turns print PDFs into web optimized ePapers that Google loves.
Using <strong>the</strong> <strong>Receiver</strong><br />
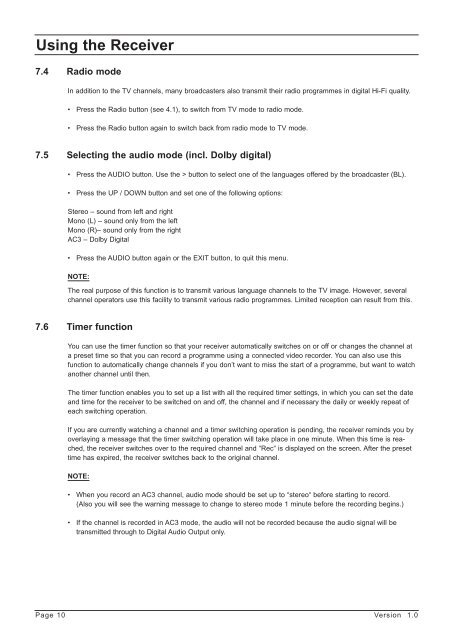
7.4 Radio mode<br />
In addition to <strong>the</strong> TV channels, many broadcasters also transmit <strong>the</strong>ir radio programmes in digital Hi-Fi quality.<br />
• Press <strong>the</strong> Radio button (see 4.1), to switch from TV mode to radio mode.<br />
• Press <strong>the</strong> Radio button again to switch back from radio mode to TV mode.<br />
7.5 Selecting <strong>the</strong> audio mode (incl. Dolby digital)<br />
• Press <strong>the</strong> AUDIO button. Use <strong>the</strong> > button to select one of <strong>the</strong> languages offered by <strong>the</strong> broadcaster (BL).<br />
• Press <strong>the</strong> UP / DOWN button and set one of <strong>the</strong> following options:<br />
Stereo – sound from left and right<br />
Mono (L) – sound only from <strong>the</strong> left<br />
Mono (R)– sound only from <strong>the</strong> right<br />
AC3 – Dolby Digital<br />
• Press <strong>the</strong> AUDIO button again or <strong>the</strong> EXIT button, to quit this menu.<br />
NOTE:<br />
The real purpose of this function is to transmit various language channels to <strong>the</strong> TV image. However, several<br />
channel operators use this facility to transmit various radio programmes. Limited reception can result from this.<br />
7.6 Timer function<br />
You can use <strong>the</strong> timer function so that your receiver automatically switches on or off or changes <strong>the</strong> channel at<br />
a preset time so that you can record a programme using a connected video recorder. You can also use this<br />
function to automatically change channels if you don’t want to miss <strong>the</strong> start of a programme, but want to watch<br />
ano<strong>the</strong>r channel until <strong>the</strong>n.<br />
The timer function enables you to set up a list with all <strong>the</strong> required timer settings, in which you can set <strong>the</strong> date<br />
and time for <strong>the</strong> receiver to be switched on and off, <strong>the</strong> channel and if necessary <strong>the</strong> daily or weekly repeat of<br />
each switching operation.<br />
If you are currently watching a channel and a timer switching operation is pending, <strong>the</strong> receiver reminds you by<br />
overlaying a message that <strong>the</strong> timer switching operation will take place in one minute. When this time is reached,<br />
<strong>the</strong> receiver switches over to <strong>the</strong> required channel and “Rec“ is displayed on <strong>the</strong> screen. After <strong>the</strong> preset<br />
time has expired, <strong>the</strong> receiver switches back to <strong>the</strong> original channel.<br />
NOTE:<br />
• When you record an AC3 channel, audio mode should be set up to “stereo“ before starting to record.<br />
(Also you will see <strong>the</strong> warning message to change to stereo mode 1 minute before <strong>the</strong> recording begins.)<br />
• If <strong>the</strong> channel is recorded in AC3 mode, <strong>the</strong> audio will not be recorded because <strong>the</strong> audio signal will be<br />
transmitted through to Digital Audio Output only.<br />
Page 10 Version 1.0


