FiberSource QFX 150 - SXS Events
FiberSource QFX 150 - SXS Events
FiberSource QFX 150 - SXS Events

You also want an ePaper? Increase the reach of your titles
YUMPU automatically turns print PDFs into web optimized ePapers that Google loves.
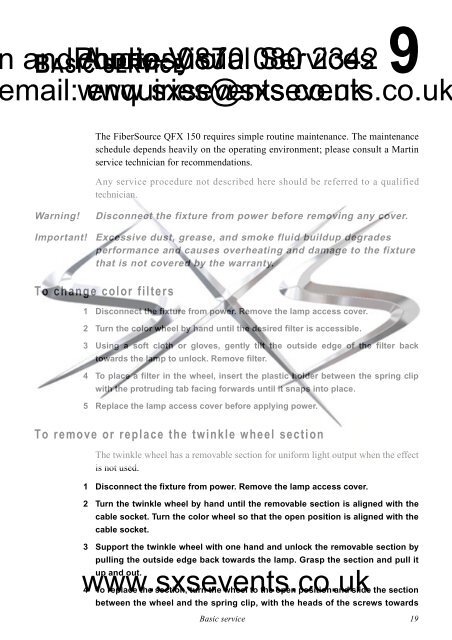
and Audio-Visual Servicesmail: www.sxsevents.co.ukenquiries@sxsevents.co.uk9BASIC Phone: courtesy SERVICE0870 of 080 2342The <strong>FiberSource</strong> <strong>QFX</strong> <strong>150</strong> requires simple routine maintenance. The maintenanceschedule depends heavily on the operating environment; please consult a Martinservice technician for recommendations.Any service procedure not described here should be referred to a qualifiedtechnician.Warning!Disconnect the fixture from power before removing any cover.Important!Excessive dust, grease, and smoke fluid buildup degradesperformance and causes overheating and damage to the fixturethat is not covered by the warranty.To change color filters1 Disconnect the fixture from power. Remove the lamp access cover.2 Turn the color wheel by hand until the desired filter is accessible.3 Using a soft cloth or gloves, gently tilt the outside edge of the filter backtowards the lamp to unlock. Remove filter.4 To place a filter in the wheel, insert the plastic holder between the spring clipwith the protruding tab facing forwards until it snaps into place.5 Replace the lamp access cover before applying power.To remove or replace the twinkle wheel sectionThe twinkle wheel has a removable section for uniform light output when the effectis not used.1 Disconnect the fixture from power. Remove the lamp access cover.2 Turn the twinkle wheel by hand until the removable section is aligned with thecable socket. Turn the color wheel so that the open position is aligned with thecable socket.3 Support the twinkle wheel with one hand and unlock the removable section bypulling the outside edge back towards the lamp. Grasp the section and pull itup and out.www.sxsevents.co.uk4 To replace the section, turn the wheel to the open position and slide the sectionbetween the wheel and the spring clip, with the heads of the screws towardsBasic service 19