XG-V10XU - diagramas.diagram...
XG-V10XU - diagramas.diagram...
XG-V10XU - diagramas.diagram...
You also want an ePaper? Increase the reach of your titles
YUMPU automatically turns print PDFs into web optimized ePapers that Google loves.
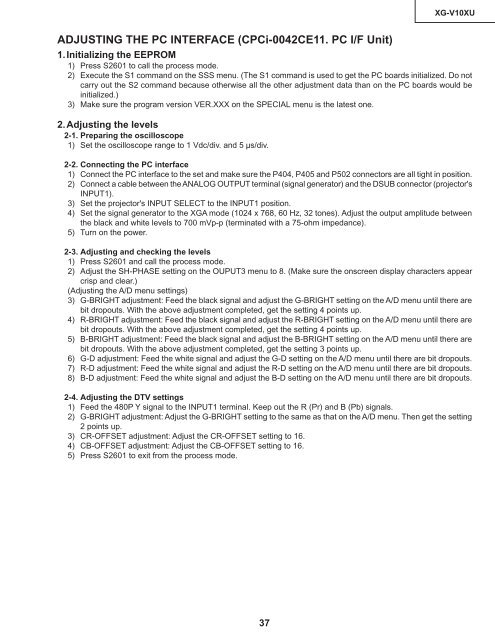
<strong>XG</strong>-<strong>V10XU</strong>ADJUSTING THE PC INTERFACE (CPCi-0042CE11. PC I/F Unit)1.Initializing the EEPROM1) Press S2601 to call the process mode.2) Execute the S1 command on the SSS menu. (The S1 command is used to get the PC boards initialized. Do notcarry out the S2 command because otherwise all the other adjustment data than on the PC boards would beinitialized.)3) Make sure the program version VER.XXX on the SPECIAL menu is the latest one.2.Adjusting the levels2-1. Preparing the oscilloscope1) Set the oscilloscope range to 1 Vdc/div. and 5 µs/div.2-2. Connecting the PC interface1) Connect the PC interface to the set and make sure the P404, P405 and P502 connectors are all tight in position.2) Connect a cable between the ANALOG OUTPUT terminal (signal generator) and the DSUB connector (projector'sINPUT1).3) Set the projector's INPUT SELECT to the INPUT1 position.4) Set the signal generator to the <strong>XG</strong>A mode (1024 x 768, 60 Hz, 32 tones). Adjust the output amplitude betweenthe black and white levels to 700 mVp-p (terminated with a 75-ohm impedance).5) Turn on the power.2-3. Adjusting and checking the levels1) Press S2601 and call the process mode.2) Adjust the SH-PHASE setting on the OUPUT3 menu to 8. (Make sure the onscreen display characters appearcrisp and clear.)(Adjusting the A/D menu settings)3) G-BRIGHT adjustment: Feed the black signal and adjust the G-BRIGHT setting on the A/D menu until there arebit dropouts. With the above adjustment completed, get the setting 4 points up.4) R-BRIGHT adjustment: Feed the black signal and adjust the R-BRIGHT setting on the A/D menu until there arebit dropouts. With the above adjustment completed, get the setting 4 points up.5) B-BRIGHT adjustment: Feed the black signal and adjust the B-BRIGHT setting on the A/D menu until there arebit dropouts. With the above adjustment completed, get the setting 3 points up.6) G-D adjustment: Feed the white signal and adjust the G-D setting on the A/D menu until there are bit dropouts.7) R-D adjustment: Feed the white signal and adjust the R-D setting on the A/D menu until there are bit dropouts.8) B-D adjustment: Feed the white signal and adjust the B-D setting on the A/D menu until there are bit dropouts.2-4. Adjusting the DTV settings1) Feed the 480P Y signal to the INPUT1 terminal. Keep out the R (Pr) and B (Pb) signals.2) G-BRIGHT adjustment: Adjust the G-BRIGHT setting to the same as that on the A/D menu. Then get the setting2 points up.3) CR-OFFSET adjustment: Adjust the CR-OFFSET setting to 16.4) CB-OFFSET adjustment: Adjust the CB-OFFSET setting to 16.5) Press S2601 to exit from the process mode.37


