beaver
beaver
beaver
- No tags were found...

Create successful ePaper yourself
Turn your PDF publications into a flip-book with our unique Google optimized e-Paper software.
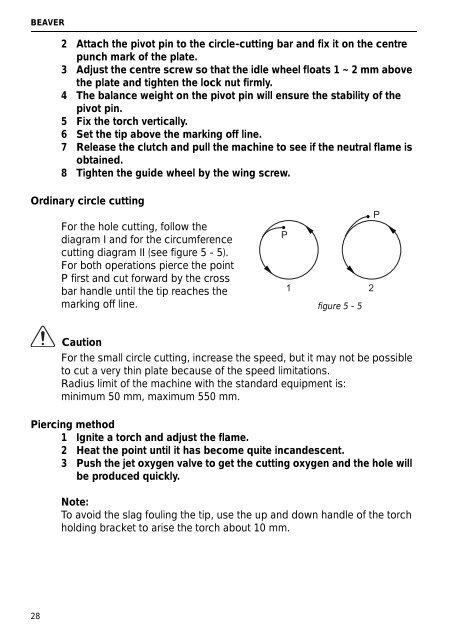
BEAVER2 Attach the pivot pin to the circle-cutting bar and fix it on the centrepunch mark of the plate.3 Adjust the centre screw so that the idle wheel floats 1 ~ 2 mm abovethe plate and tighten the lock nut firmly.4 The balance weight on the pivot pin will ensure the stability of thepivot pin.5 Fix the torch vertically.6 Set the tip above the marking off line.7 Release the clutch and pull the machine to see if the neutral flame isobtained.8 Tighten the guide wheel by the wing screw.Ordinary circle cuttingFor the hole cutting, follow thediagram I and for the circumferencecutting diagram II (see figure 5 - 5).For both operations pierce the pointP first and cut forward by the crossbar handle until the tip reaches themarking off line.P1figure 5 - 52PCautionFor the small circle cutting, increase the speed, but it may not be possibleto cut a very thin plate because of the speed limitations.Radius limit of the machine with the standard equipment is:minimum 50 mm, maximum 550 mm.Piercing method1 Ignite a torch and adjust the flame.2 Heat the point until it has become quite incandescent.3 Push the jet oxygen valve to get the cutting oxygen and the hole willbe produced quickly.Note:To avoid the slag fouling the tip, use the up and down handle of the torchholding bracket to arise the torch about 10 mm.28